How to Create a Stroke in Procreate
Jul 25, 2022
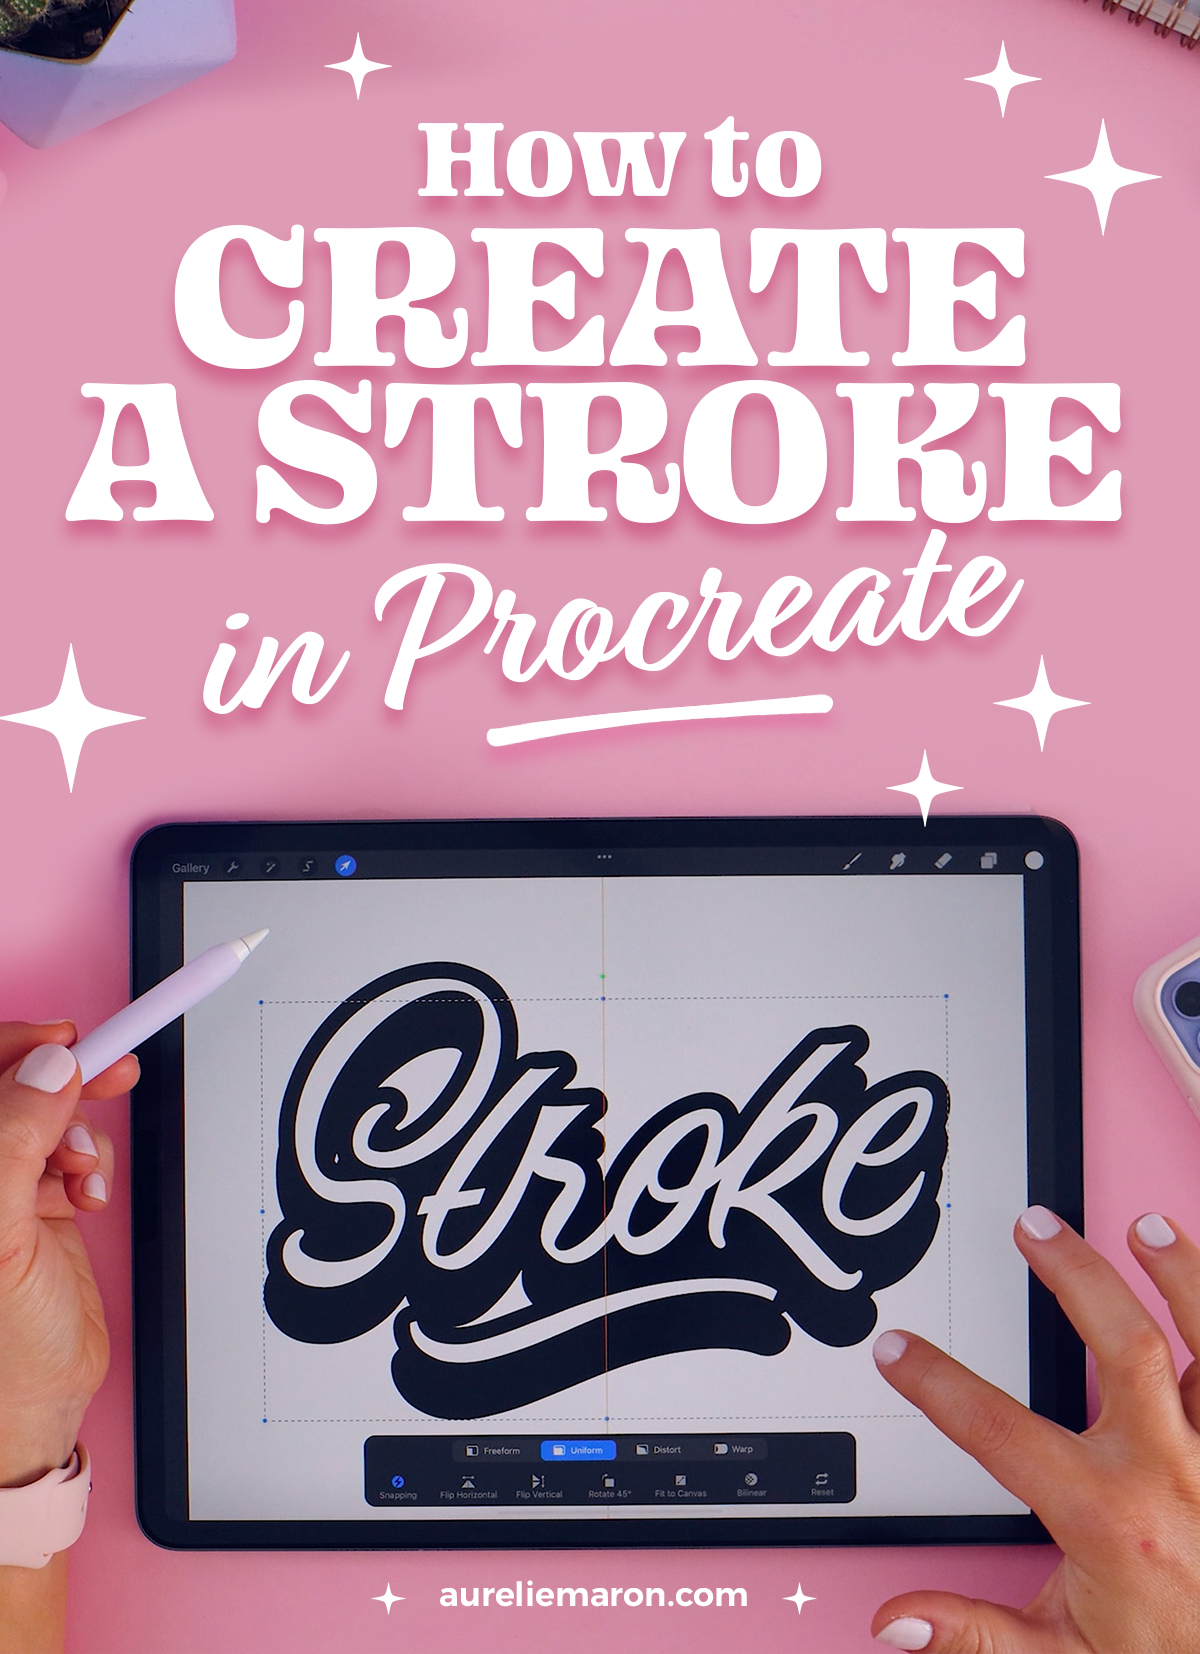
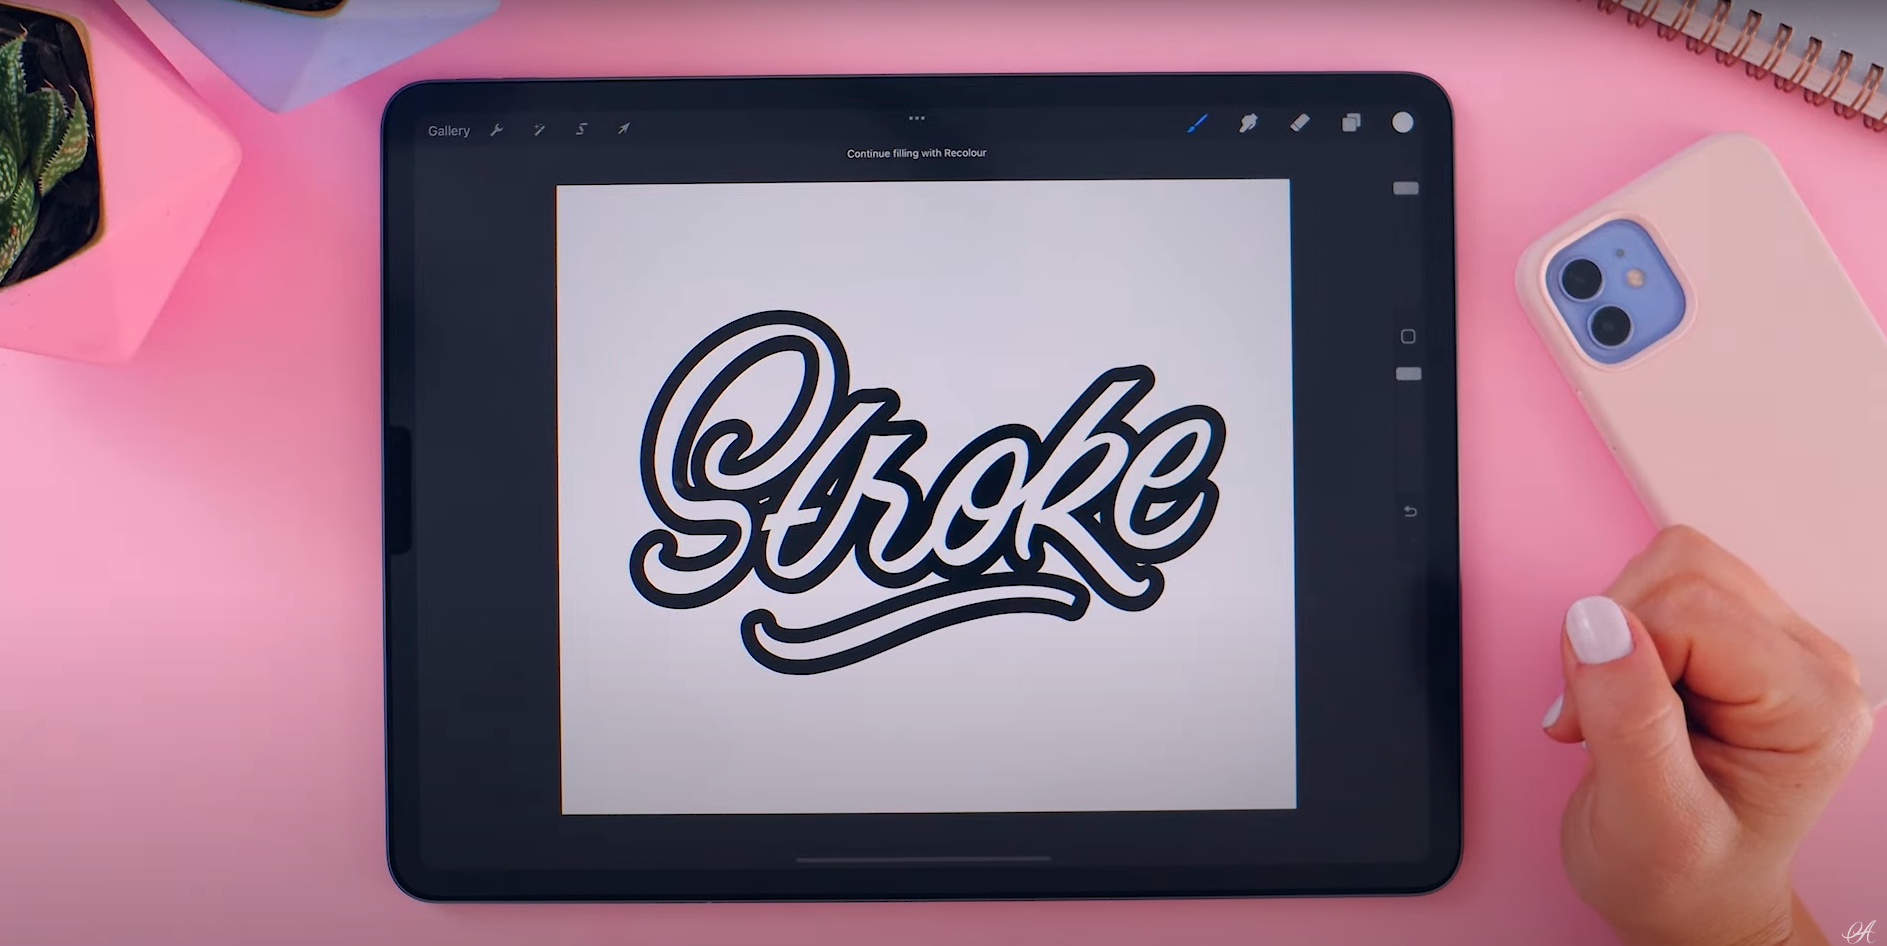
I’ve been asked so many times how to create a stroke in Procreate, and until the app makes an update that lets you add a stroke automatically, this is the best hack I’ve found! I know there are different methods out there, but if you want a smooth and unpixelated stroke, this is how you should do it!
It’s super easy and will only take you a couple of minutes. All you need before you get started is to download the Vectornator app, which is available for free on the Apple Store (get it here).
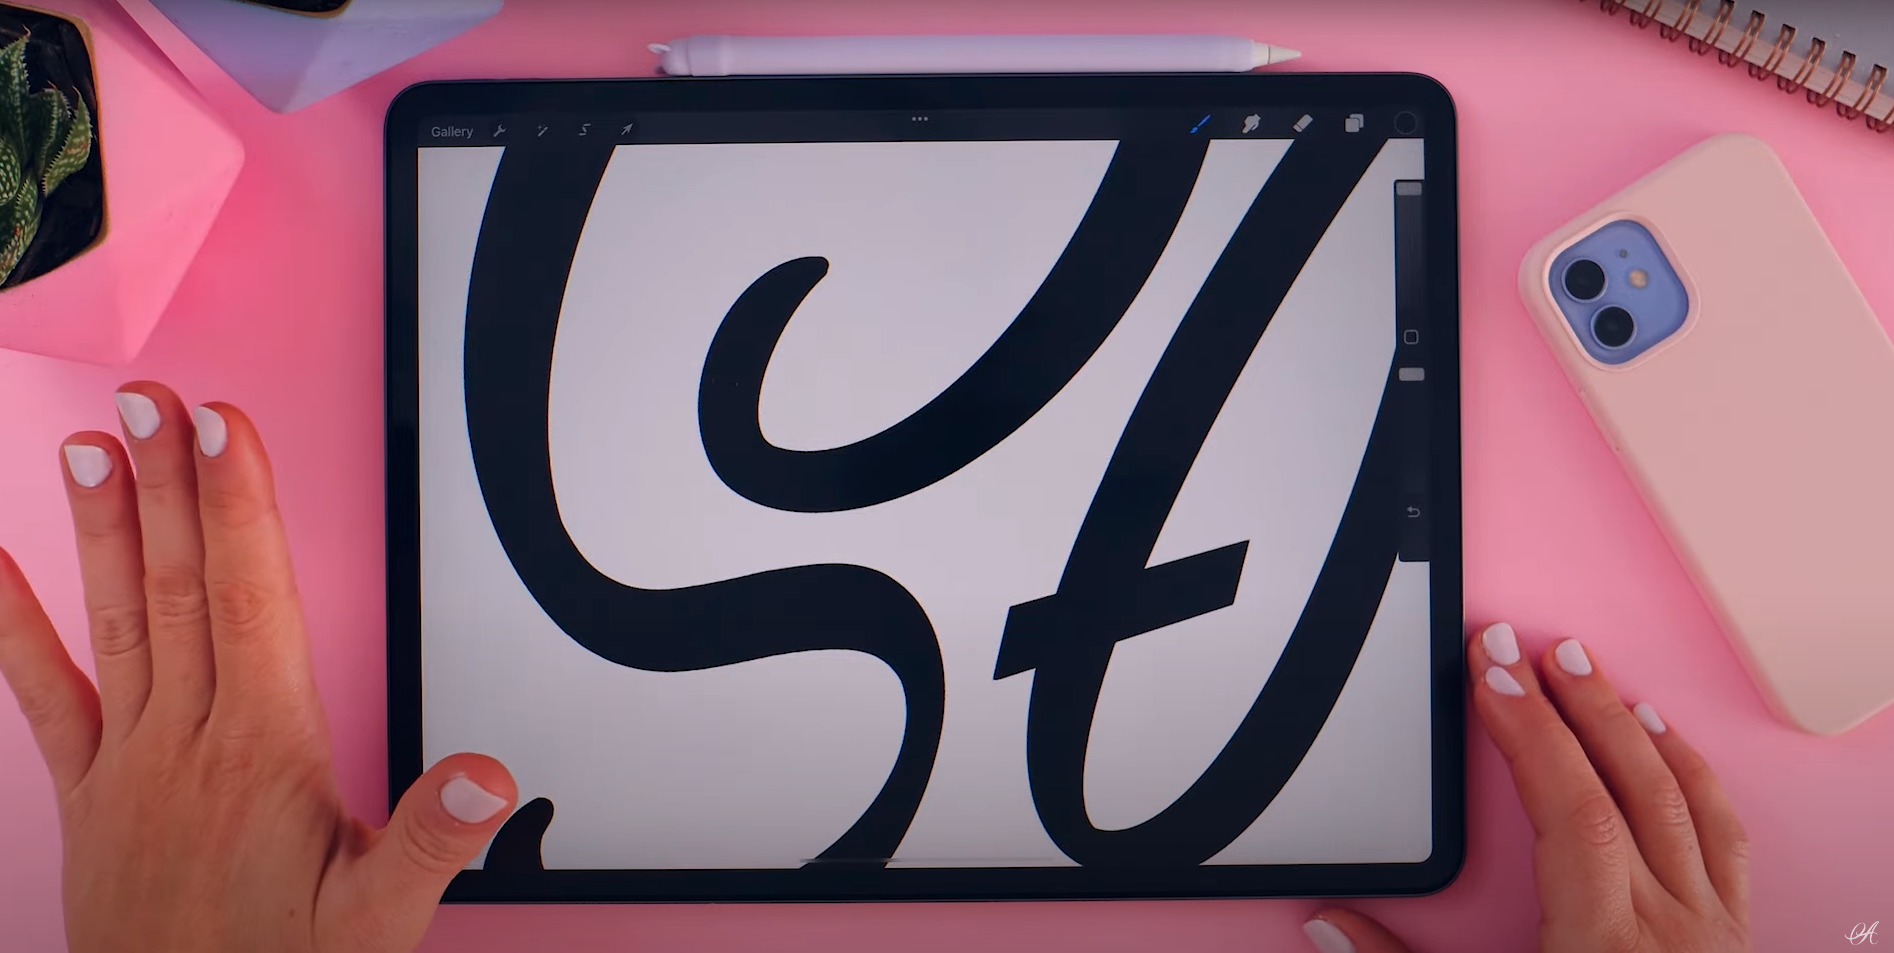
Step 1. Make sure all your curves are clean and you know your canvas size.
It's important for the next steps to work with sharp shapes. Make sure you don't have any rugged edges or texture on your artwork. If you need help creating clean letters, check out my blog on How to draw perfect letters in Procreate.
We're going to export this artwork and import it in a different app, so make sure you use the same canvas size with both apps. I usually make my canvas 3,500 x 3,000 pixels.
Step 2. Export your artwork from Procreate as a .jpeg.
I recommend working with a black artwork on a white background. Then click Share > JPEG > Save Image.
Step 3. Vectorize your image in a vector app.
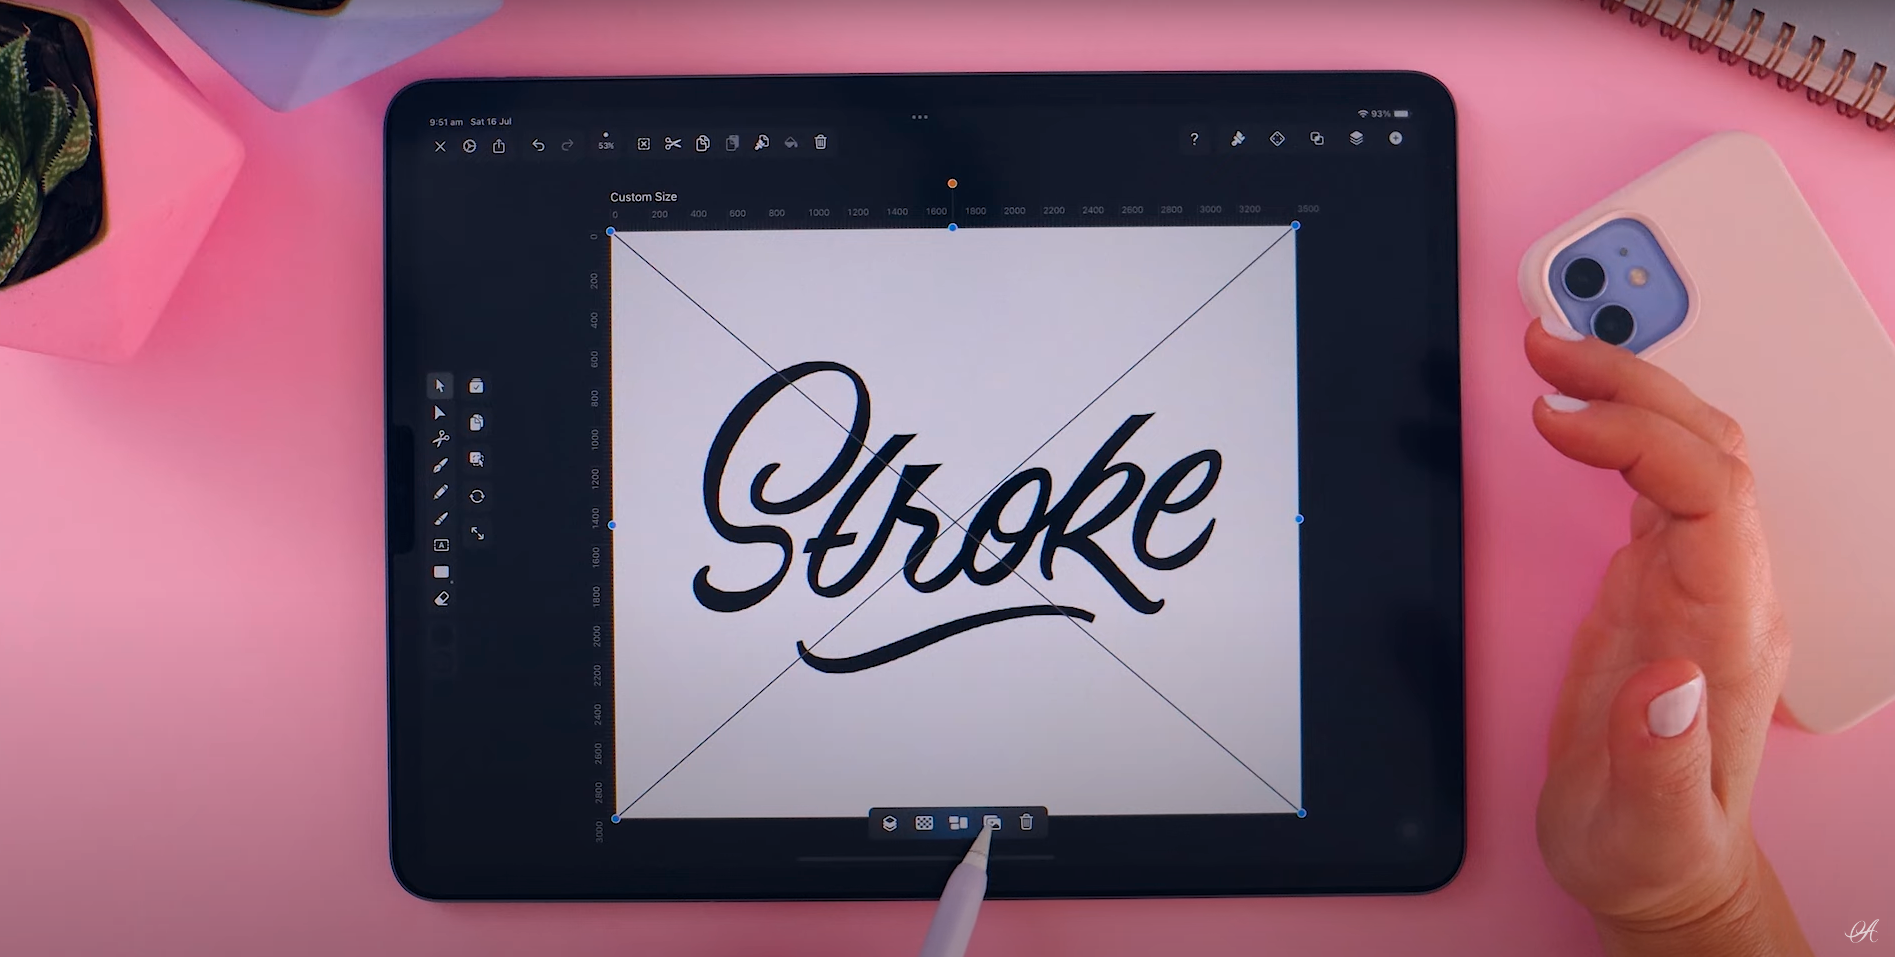
Vectornator is perfect for this step because it’s free! So create your canvas using the exact same measurements that you had in Procreate.
Add your JPEG image and use the auto trace option to vectorize your file. Move Complexity to 100 and turn on Ignore White.
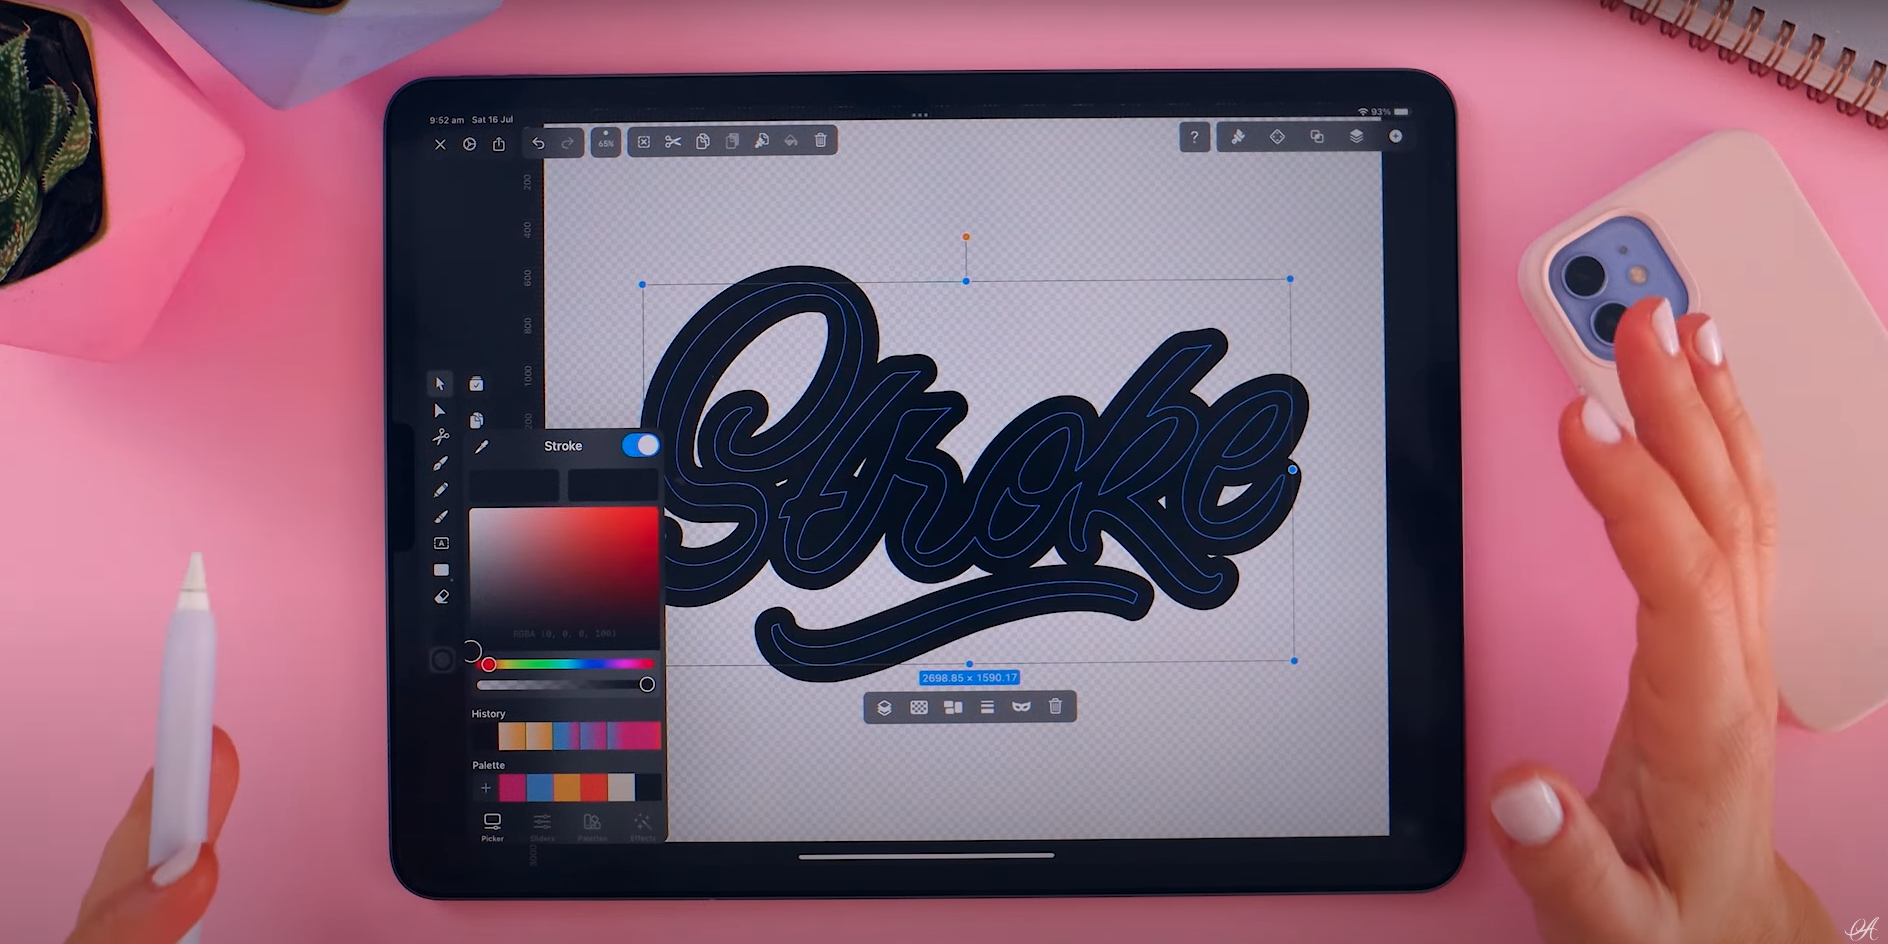
Select your shape and add a black stroke. Adjust the size of the stroke by clicking on Style > Stroke > Stroke Width (I used 145pt for my artwork.)
Export your shape as a .png with a transparent background. Click Share > PNG > Export > Save Image. Make sure Transparency is turned on.
Step 4. Insert your new .png stroke in Procreate.
Click Add > Insert a photo. Select your new stroke and watch it match your artwork perfectly!
Check out the step-by-step tutorial on my YouTube ✨
