5 Tips to Draw Better Letters in Procreate
Jun 20, 2022
Procreate has so many great tools and features that creators should know about. But as a lettering artist who uses Procreate everyday, these are my top 5 tips to draw perfect letters!
Never draw wonky letters again with those 5 procreate tips:
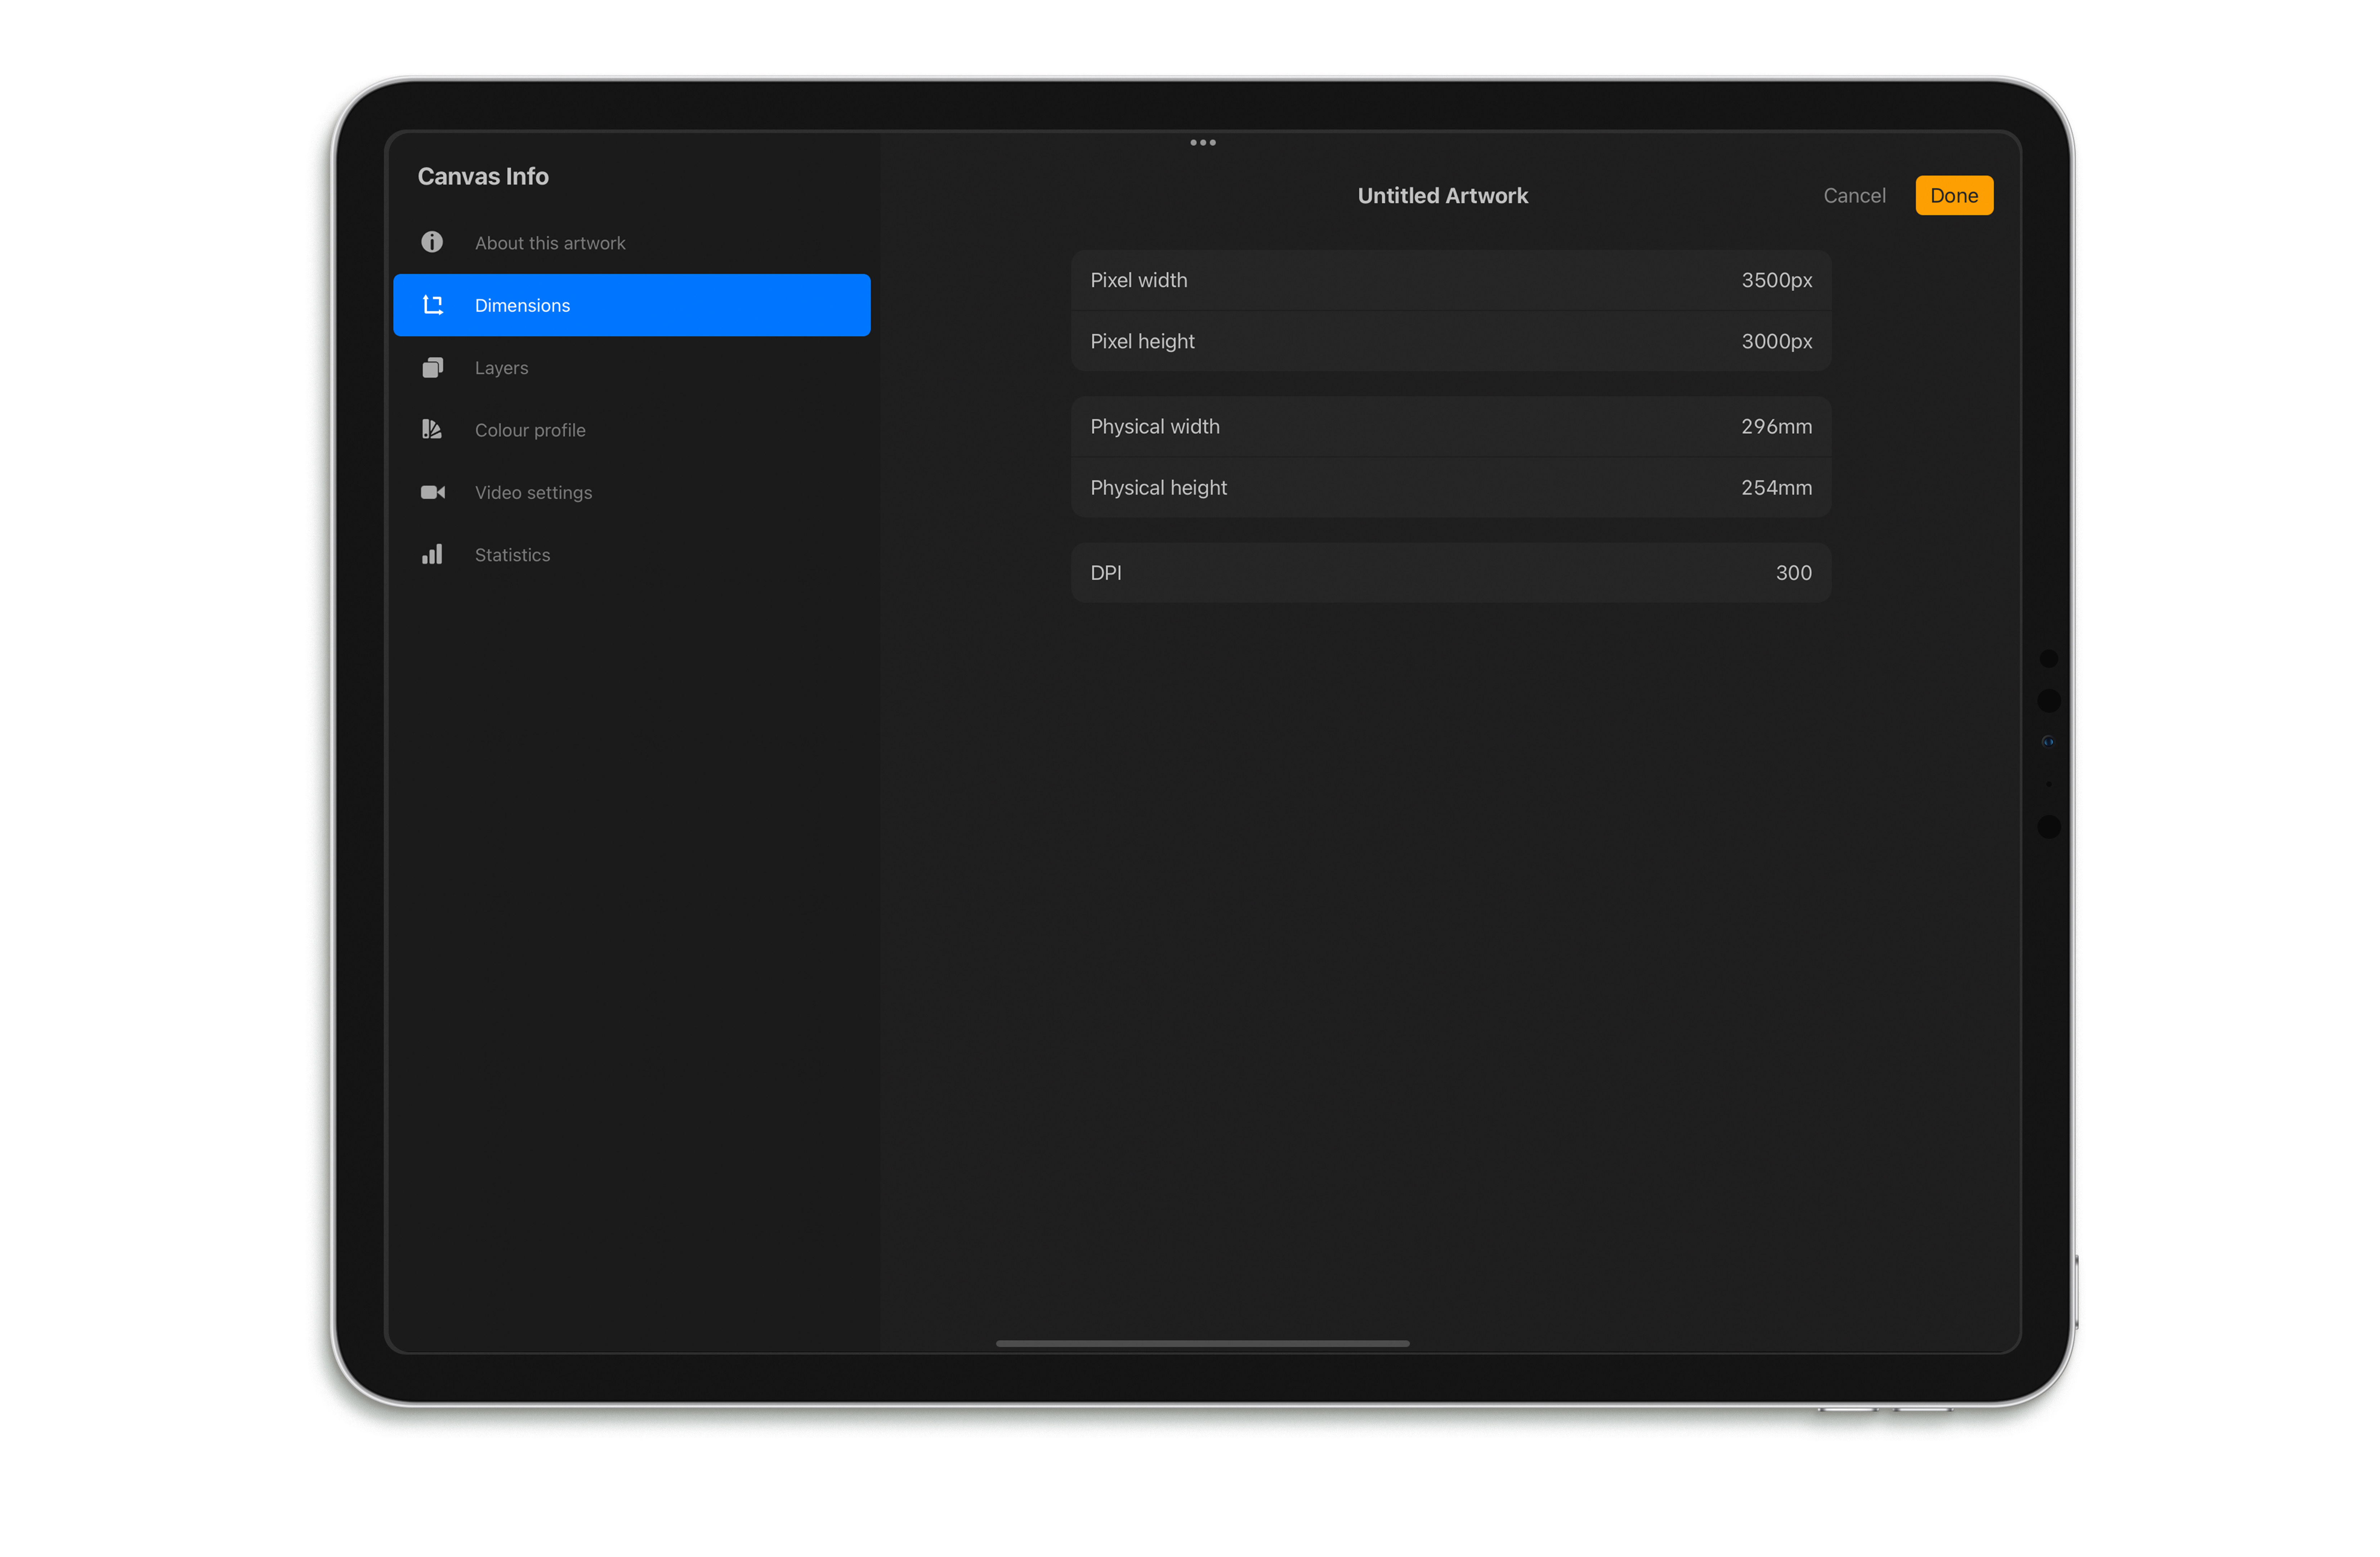
1. Set your canvas
Ensure that your canvas is at least 3000 pixels wide. I usually set mine at 3000 x 3500 pixels which gives me about 30 layers.

2. Use the monoline brush
Select the monoline brush, then go under Settings > Stabilisation and adjust the Streamline amount. I set mine to 100% to make my lines look super smooth!

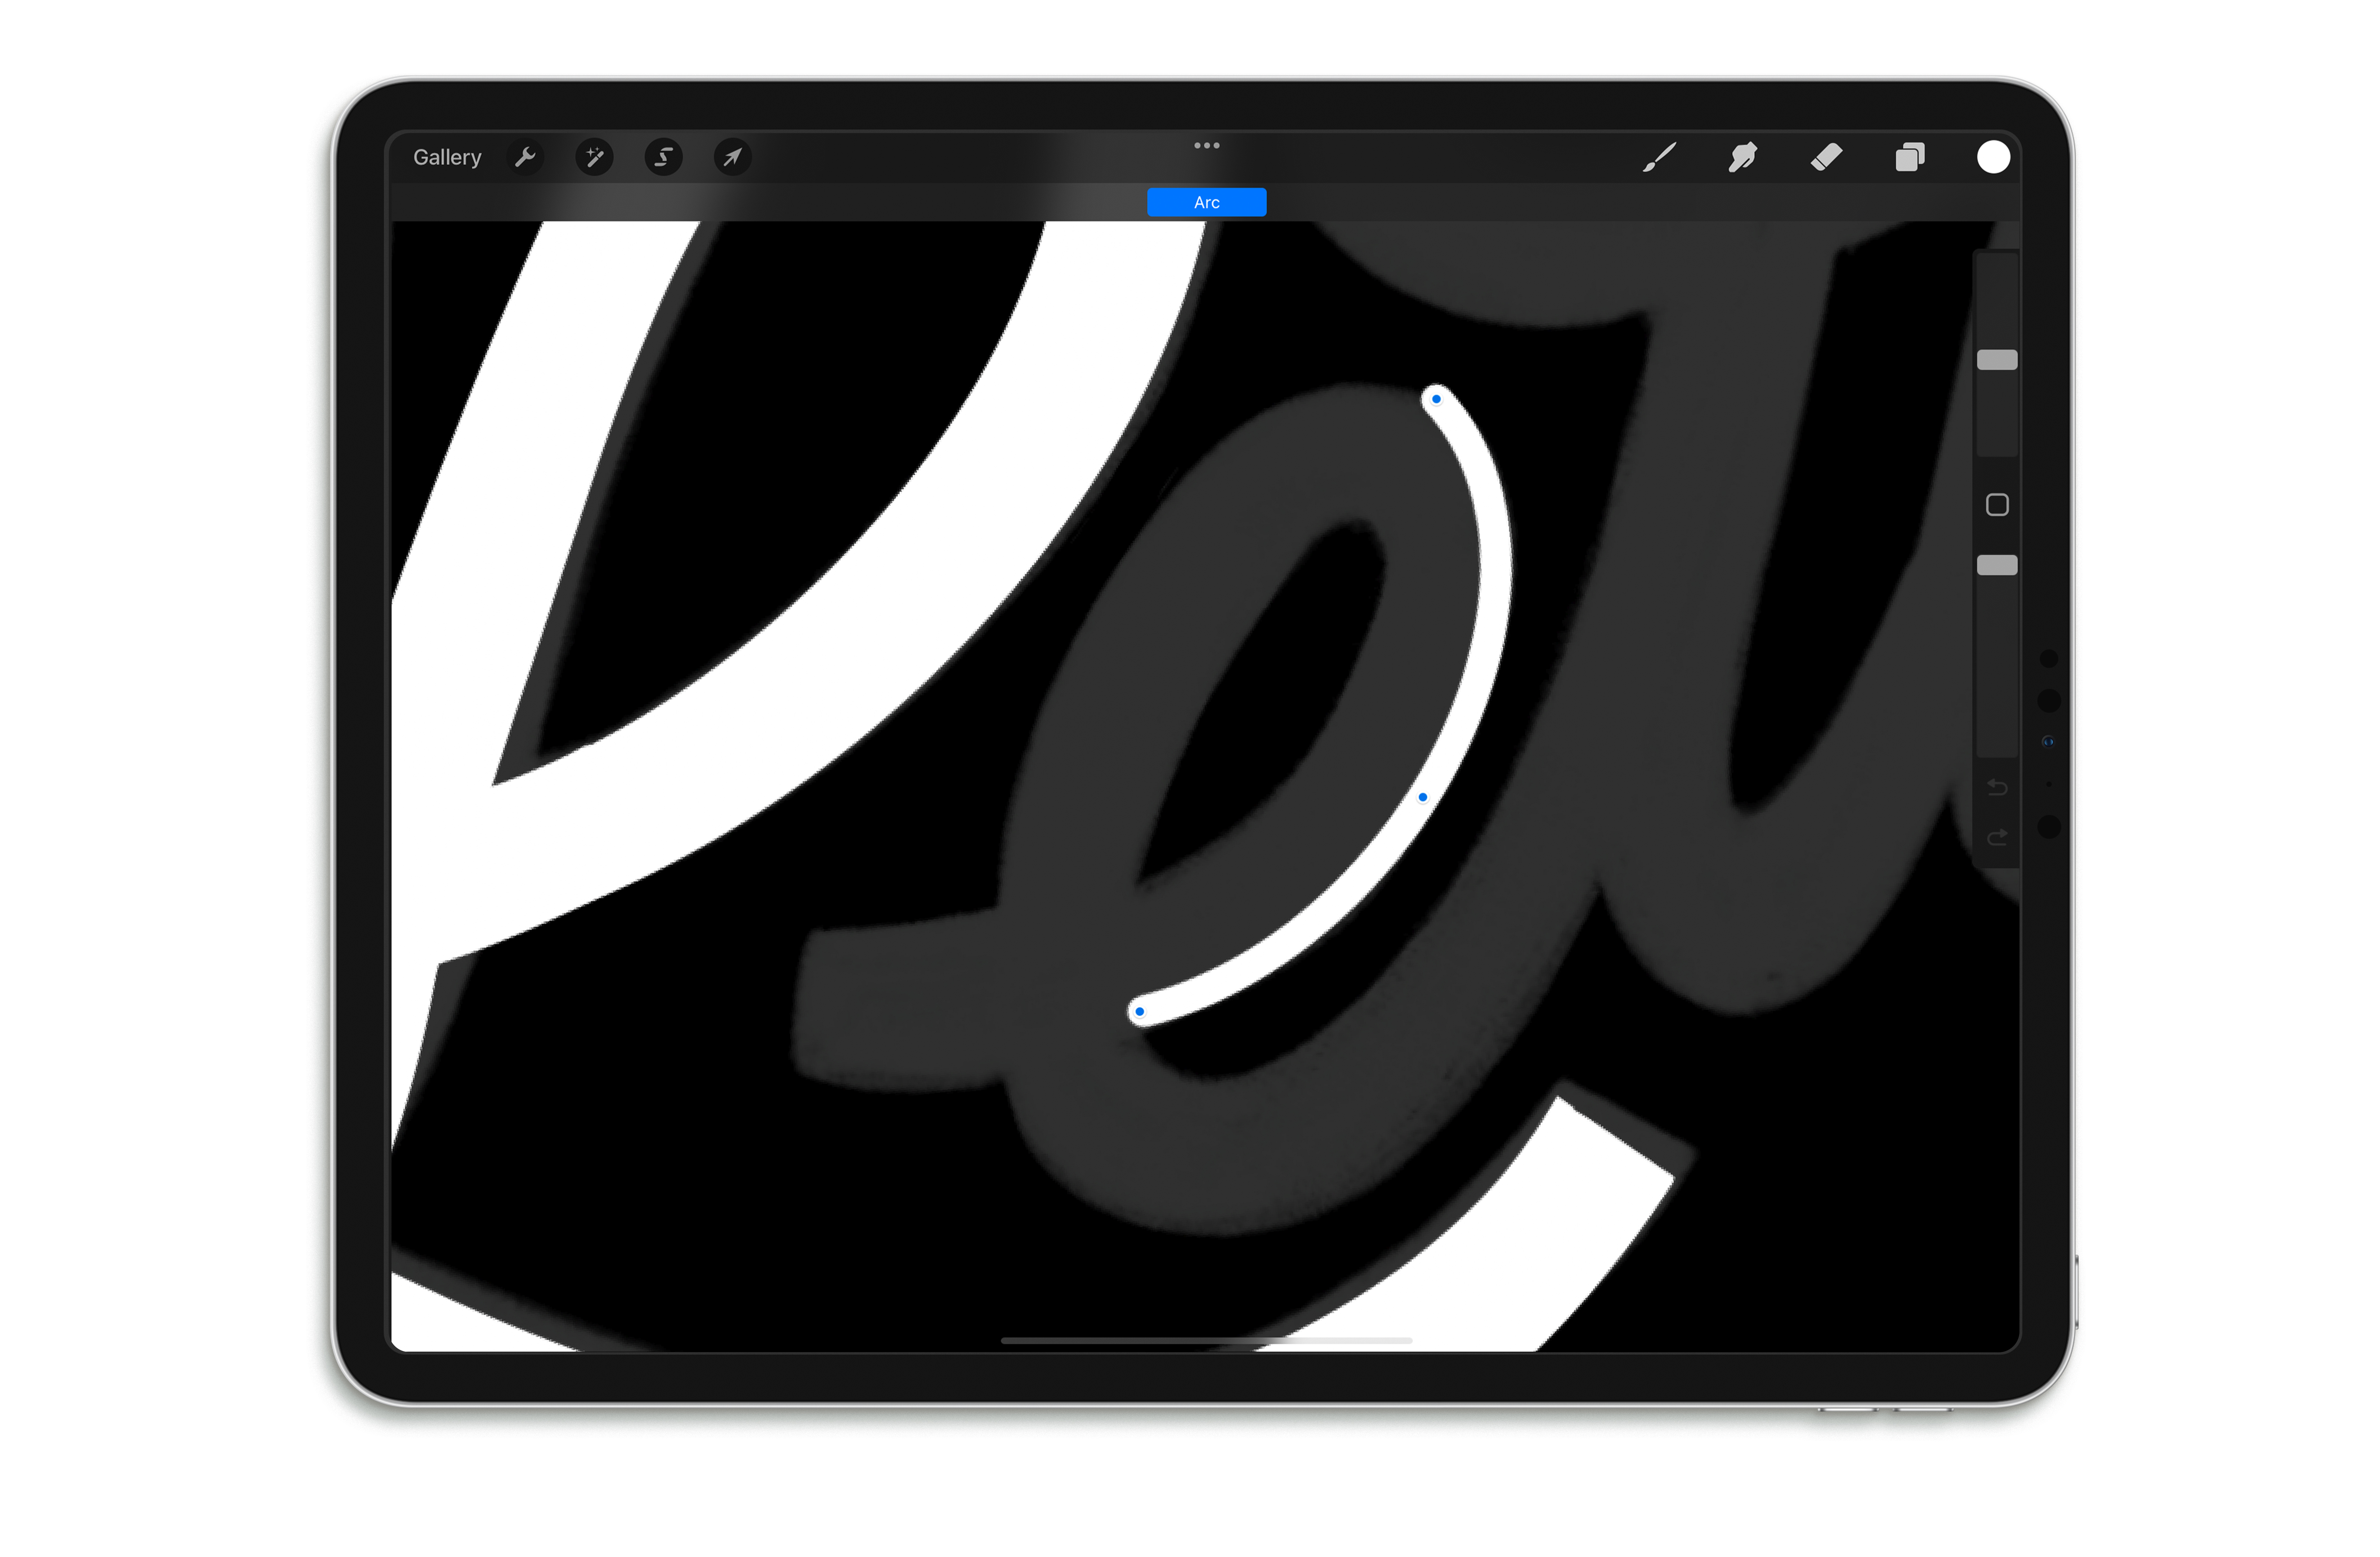
3. Draw and hold your curves
Hold your pen down at the end of your stroke and Procreate will smoothen the curve for you. You can also tap on Edit Shape to move the nodes of your curve.

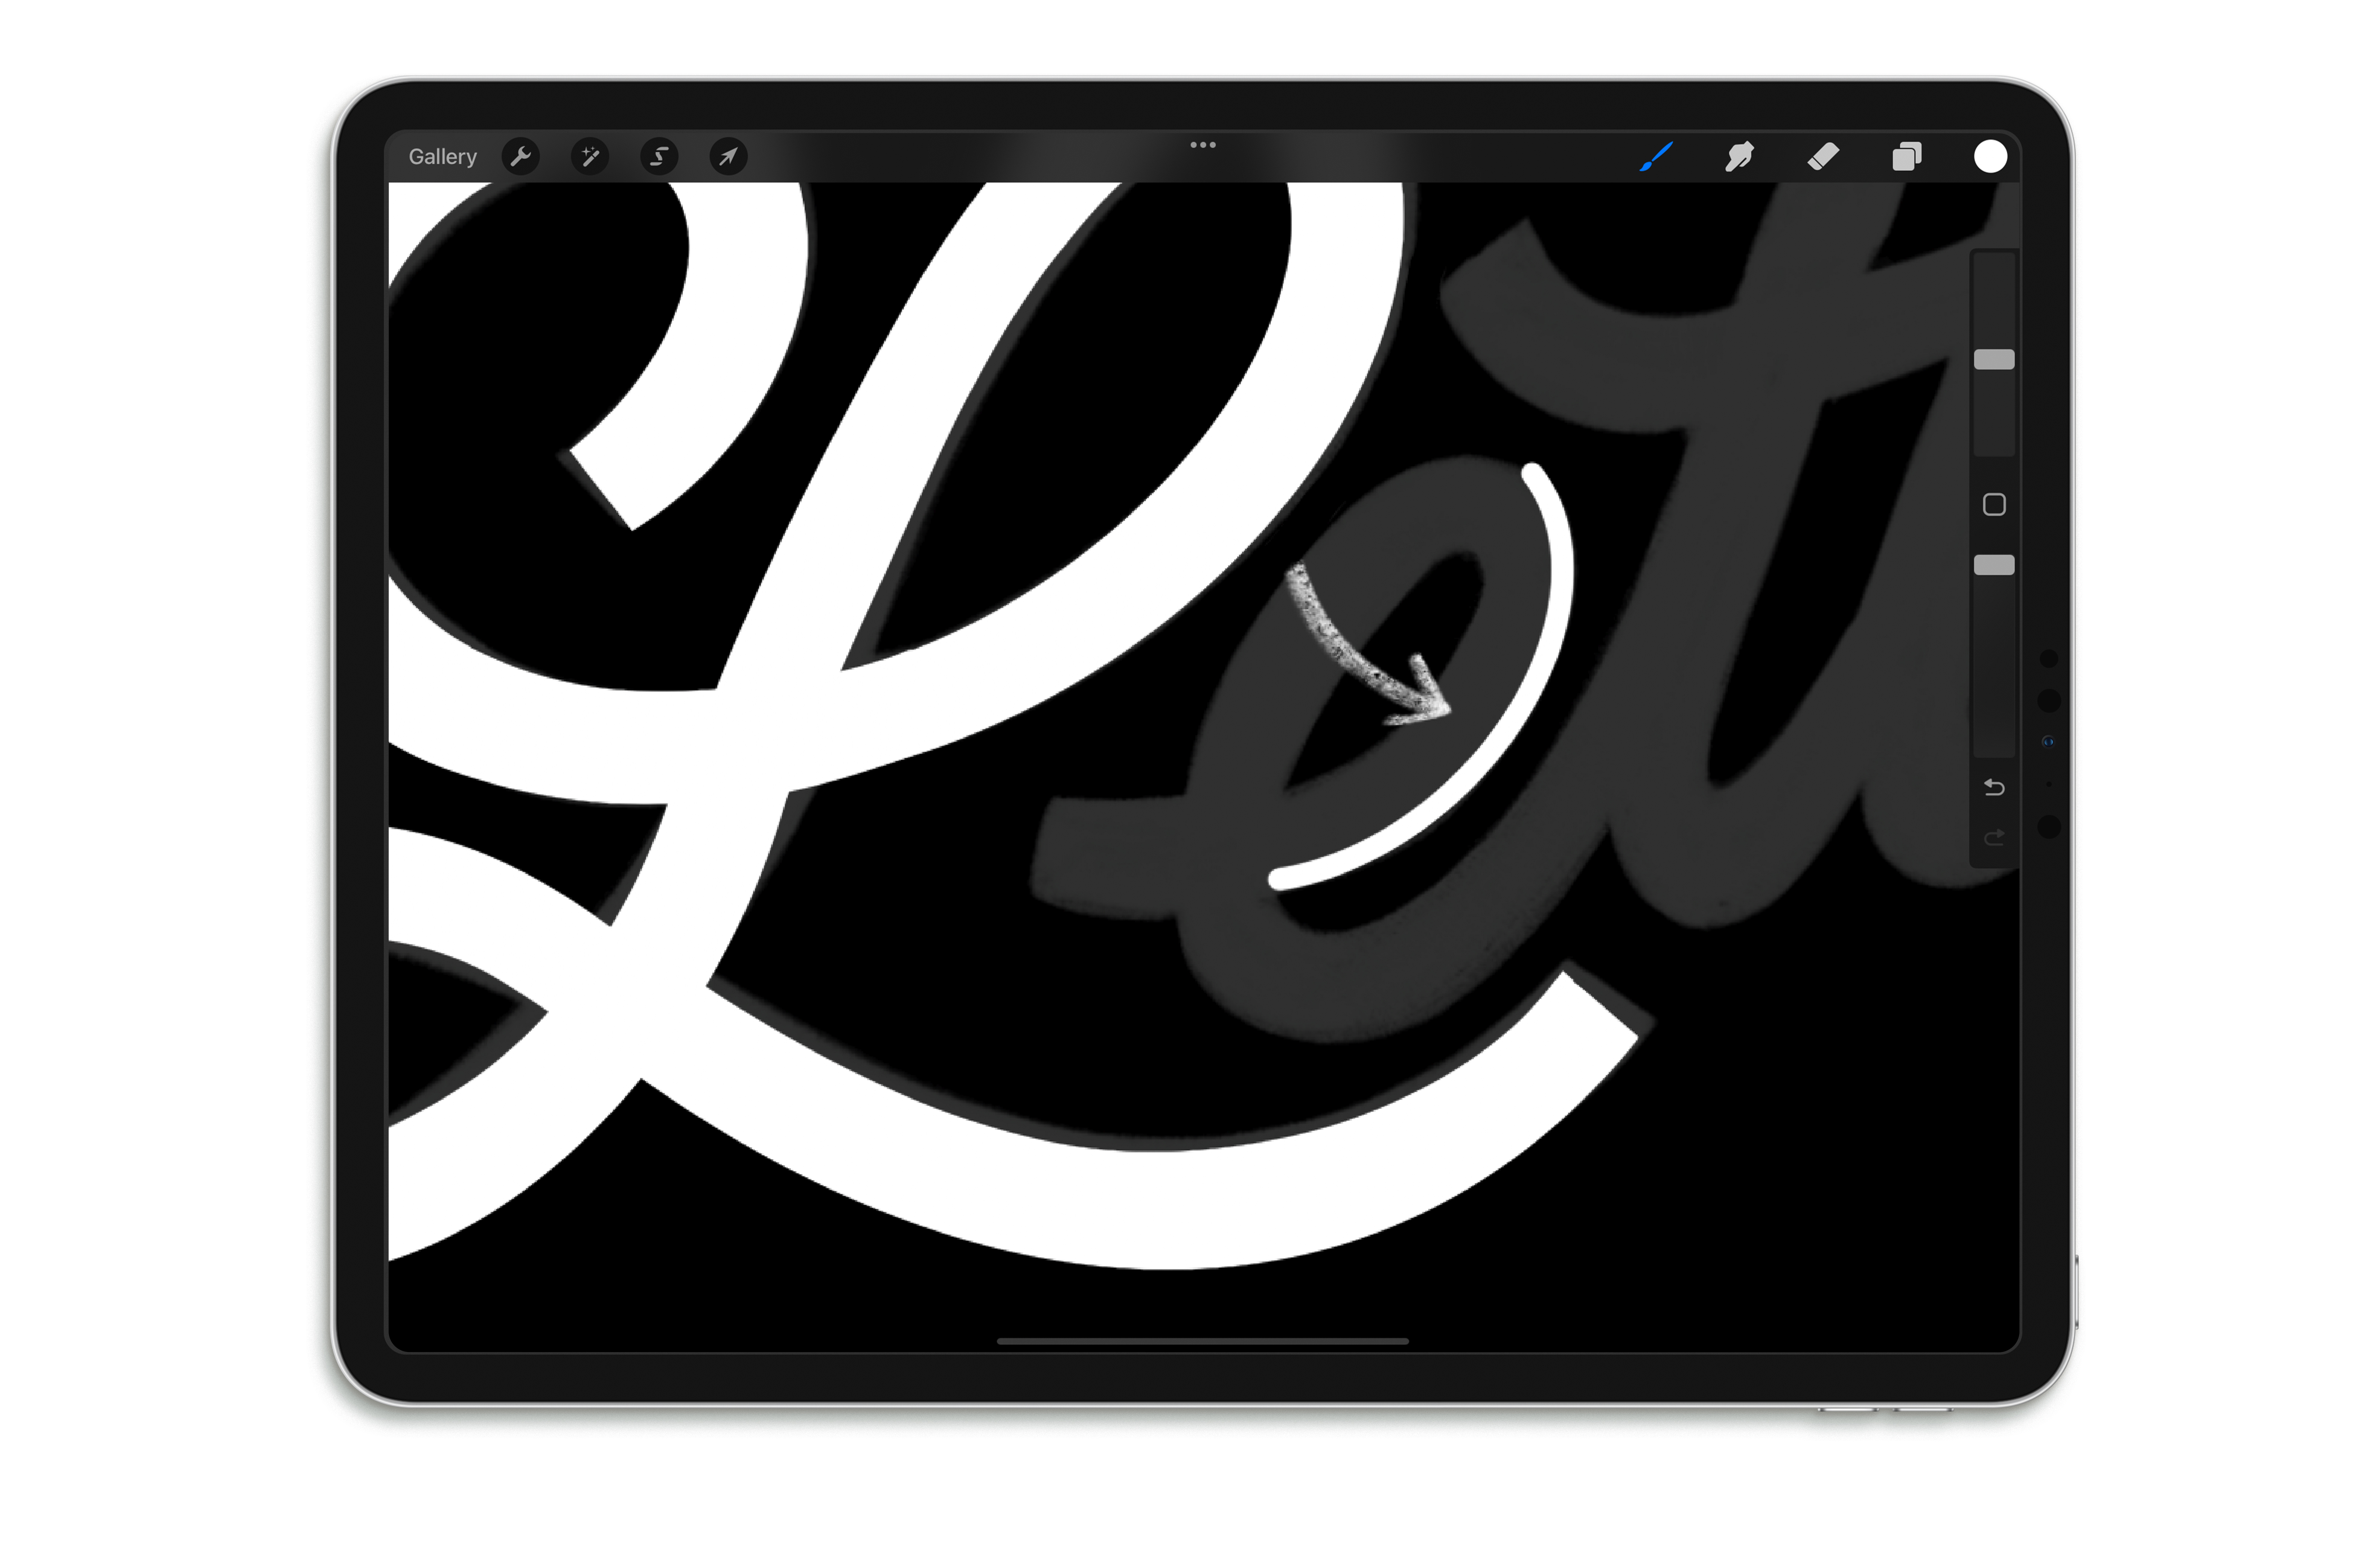
4. Draw towards the outside
Draw your curves towards the outside and never towards you. If you need to, just rotate your canvas.

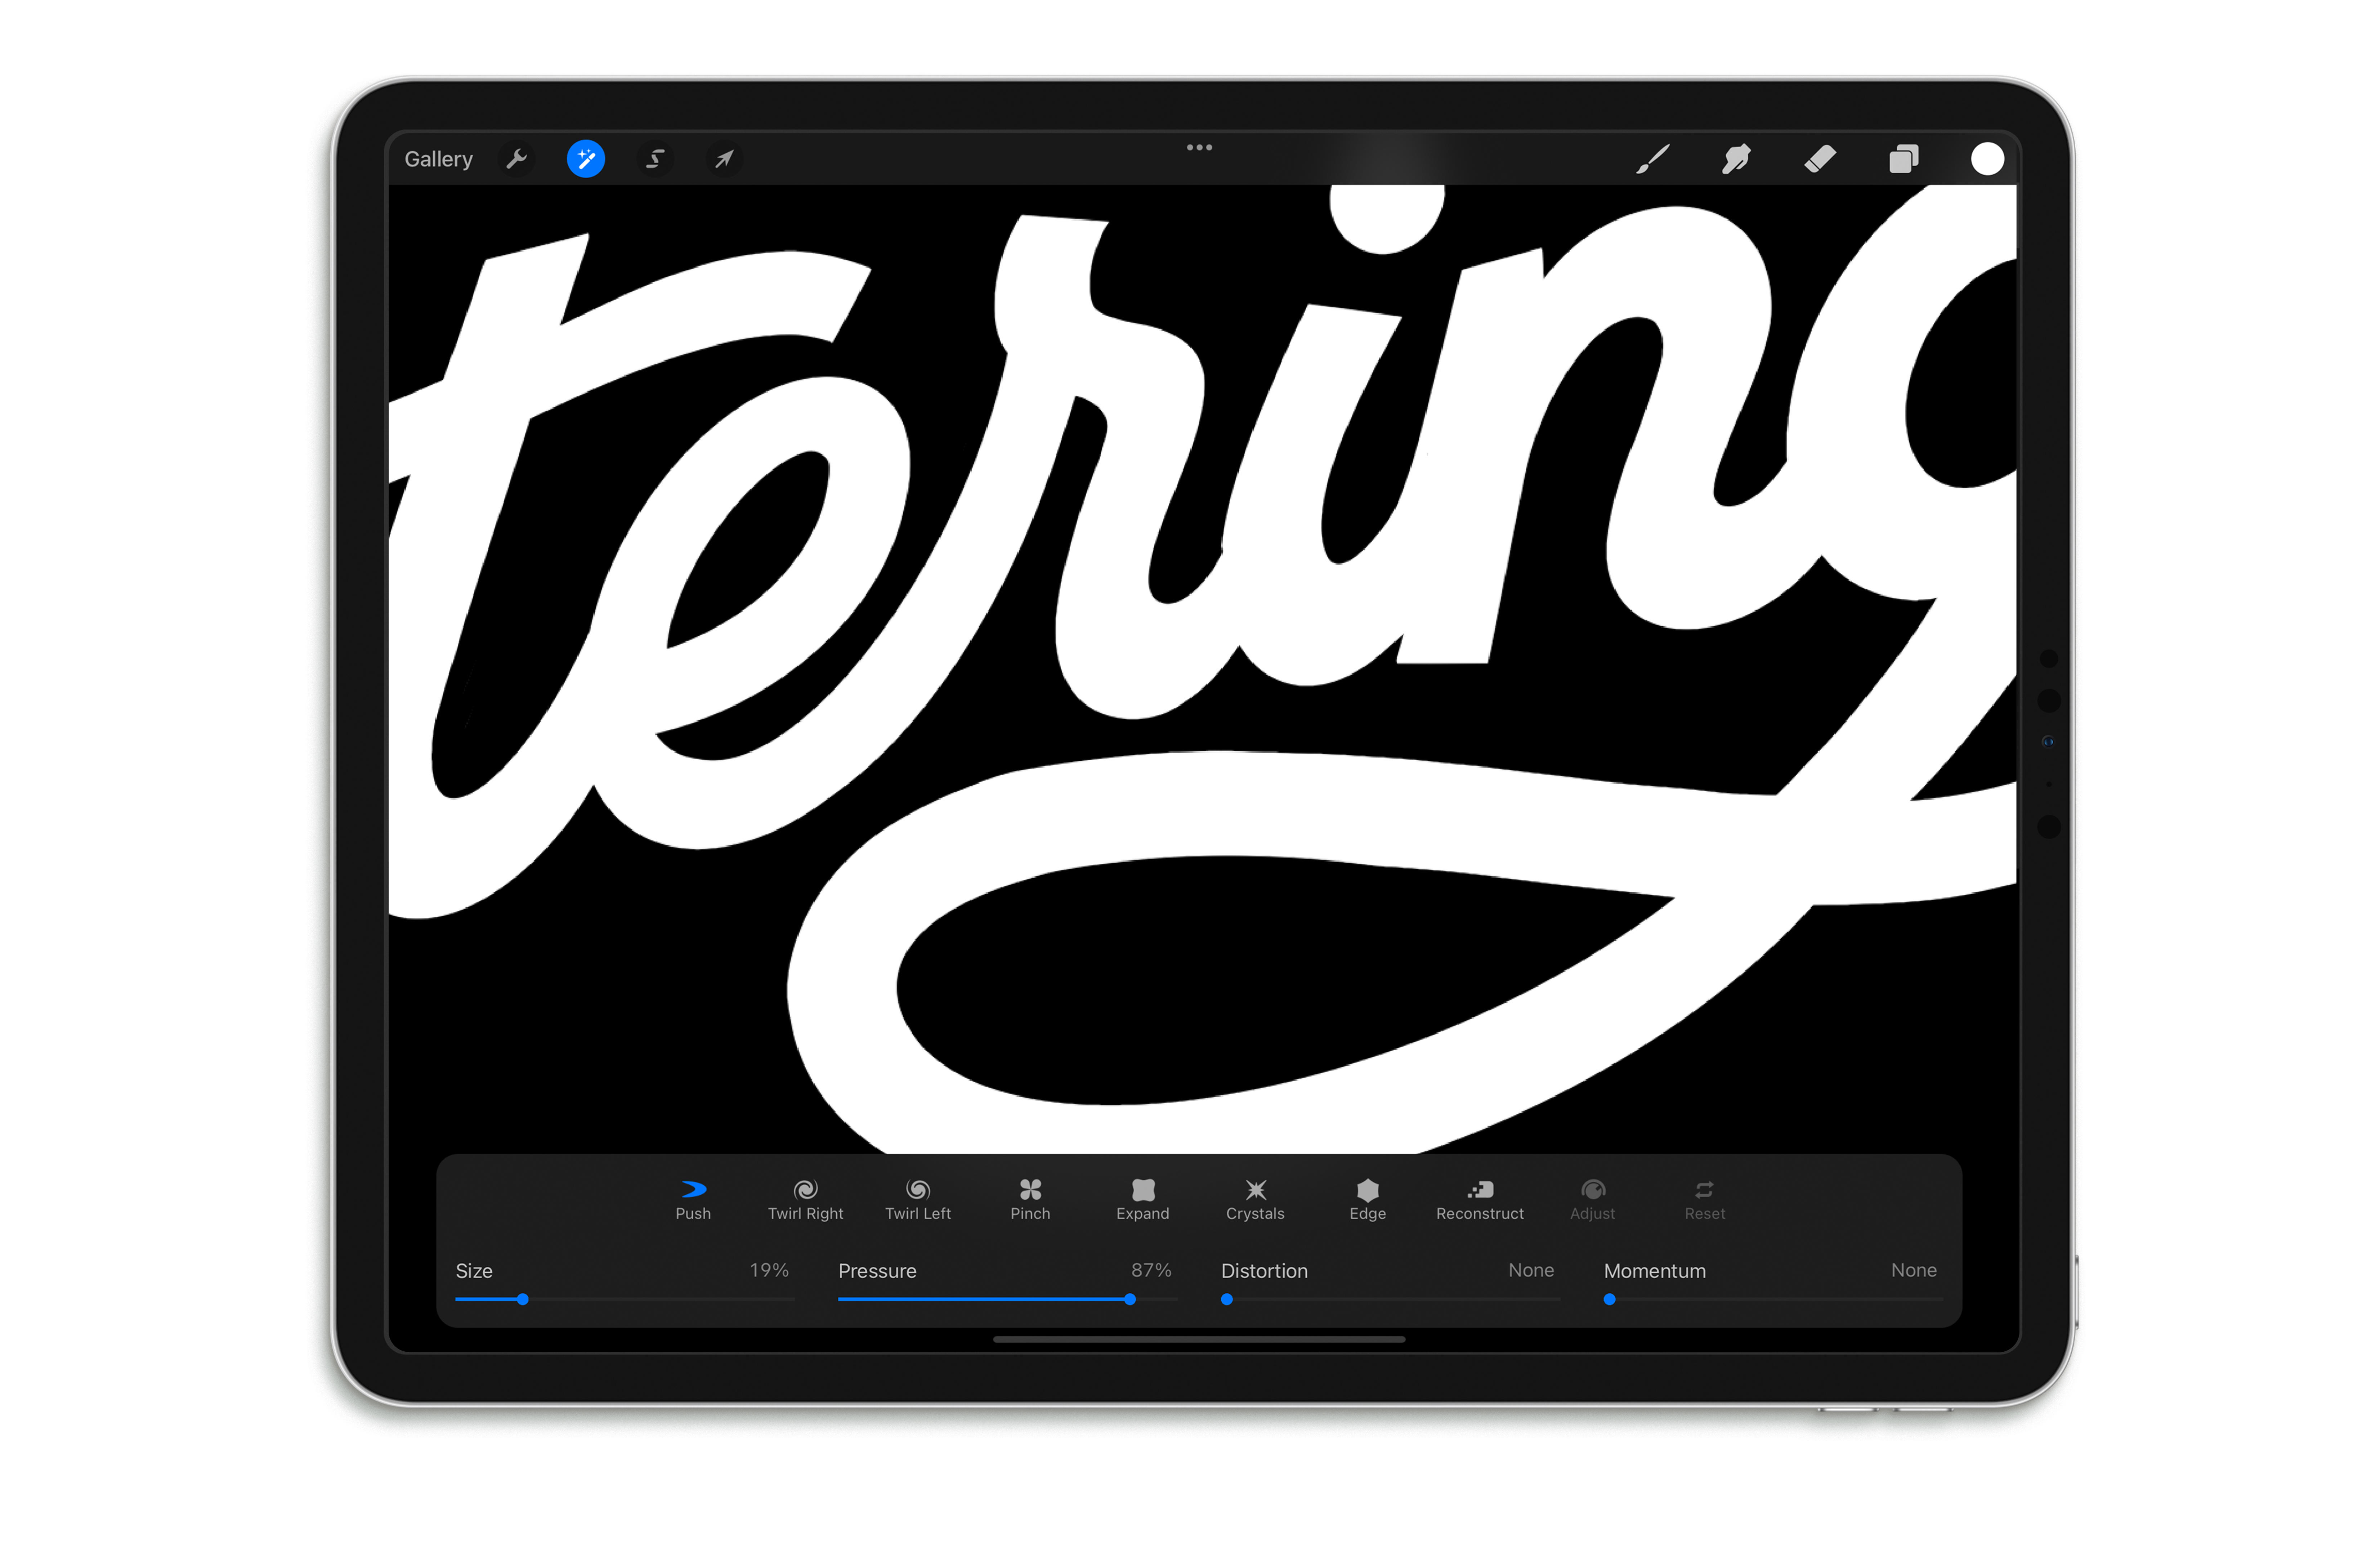
5. Use the Liquify tool
The Liquify tool is my favourite tool to fix last-minute details on your curves and make sure your letters are on point!

I hope you learned something new! If you want to try these techniques, make sure to download my free lettering template and use it as a guide to practice your Procreate drawing skills. Quick tip, you don't need to draw the letter "e" twice, and can simply duplicate it!
Check out the detailed video here.
Ready to put this information into practice?
Download your free template here


