How to print your Procreate artwork like a pro 📖
Feb 03, 2025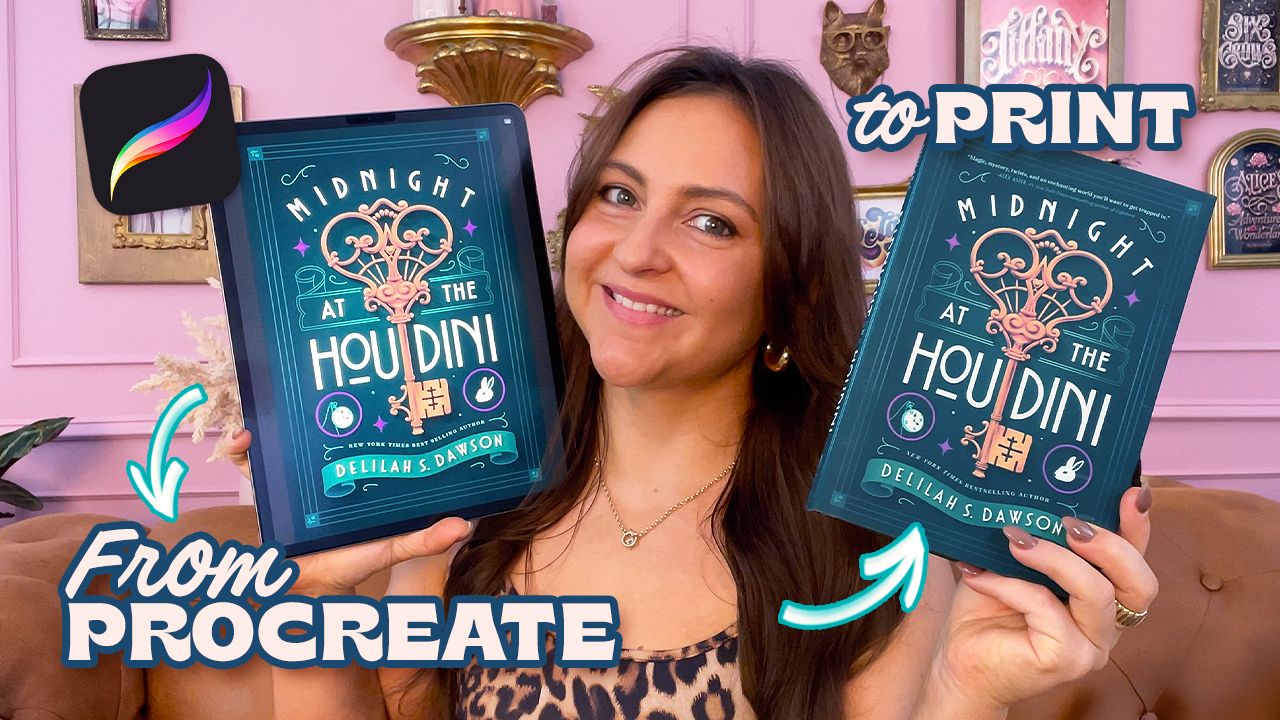
If you've ever felt overwhelmed by terms like DPI, RGB, CMYK, or bleeds when trying to print your Procreate artwork... don't worry, you're not alone!
As someone who’s been in the design industry for over 10 years, I understand the confusion and frustration that can come with preparing your digital art for print.
In this guide, I'll walk you through everything you need to know about printing from Procreate, to make sure that your artwork looks just as good on paper as it does on your iPad screen. 👩🏽💻


Before we dive into the technical details, let's address a common misconception: many artists think that Procreate isn't suitable for creating print-ready artwork. This couldn't be further from the truth! While Procreate's default settings are optimised for digital work, you can absolutely create professional-quality prints from your Procreate artwork. The key is to understand and use the right settings from the start.
4 Steps for Print-Ready Procreate Artwork
1. Setting Up Your Canvas Size
The foundation of print-ready artwork begins with your canvas setup. For professional printing, you'll want to:
- Create your canvas at the exact dimensions you need for printing
- Include a 3mm bleed on each side for professional printing
2. Understanding Resolution and DPI
Resolution is crucial for print quality. Here's what you need to know:
- Always set your resolution to 300 DPI for professional printing
- Remember that higher DPI means more detail in your final print
- Avoid lower resolutions (like 72 DPI) which are meant for web display only
3. Managing Colour Profiles
Colour management can make or break your printed artwork. Here's what you should do:
- Always use a CMYK colour profile for prints
- If you start with an RGB colour profile, make sure you convert it to CMYK before printing (I use Photoshop)
- Always remember that printed colours may appear slightly darker than on screen
- Pro tip: Never send the RGB version as proof for print to your client because, of course, they will want the print to look just as vibrant.
4. Exporting Your Artwork
The final step is preparing your file for print:
- Export as high-quality PDFs for the best print results
- Pro tip: Label your layers as you go and keep backups of your layered files. Trust me, your future self will thank you when you’re making adjustments later.
Common Questions About Printing from Procreate 💭
Let's talk about some frequently asked questions:
✦ Can Procreate Handle Large Print Sizes?
Yes! Your iPad's RAM determines the maximum canvas size, but most modern iPads can handle dimensions suitable for professional printing. The key is finding the right balance between canvas size and layer count.
✦ Is Vector Art Required for Professional Printing?
No! While vector art has its advantages, high-resolution raster artwork from Procreate is perfectly suitable for professional printing. The key is starting with the right resolution and canvas size.
Ready to Start Printing?
Let’s recap! To make your Procreate designs print-ready, remember:
☑️ Choose the right size of canvas and include bleeds if needed.
☑️ Set your resolution to 300 DPI.
☑️ Work in the correct colour mode: RGB for digital, CMYK for print.
☑️ Export your file as a high-quality PDF.
Whether you're creating custom prints, designing book covers, or working on client projects, understanding these fundamental principles will help you achieve professional-quality results every time.
Remember, the key to successful printing from Procreate lies in proper preparation and understanding your output requirements. With these guidelines in hand, you're prepared to create beautiful, print-ready artwork that looks as impressive on paper as it does on your iPad.