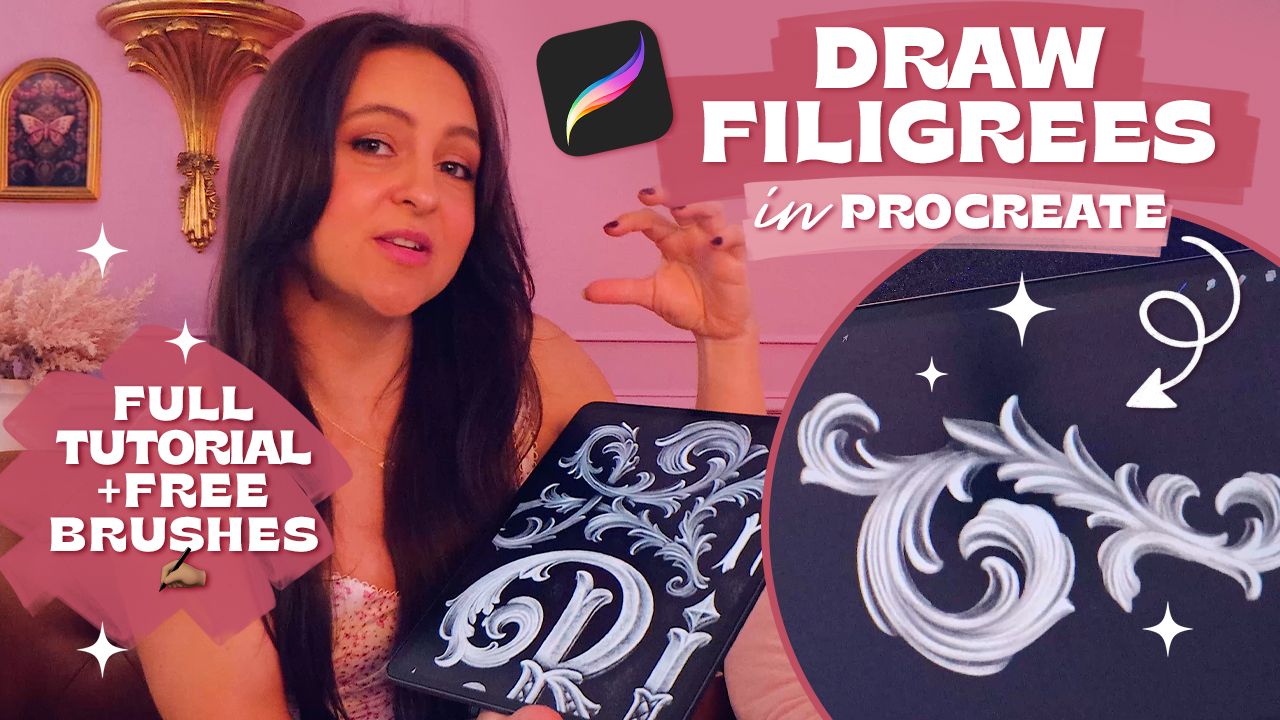
How to Draw Chalk Filigrees in Procreate: A Step-by-Step Tutorial
Sep 22, 2023
Are you ready to unlock your creativity and learn how to draw exquisite chalk filigrees in Procreate? In this tutorial, I'll guide you through the process step by step, so you can create stunning filigree designs for various purposes, from custom logotypes to wedding invitations. Plus, I have a special treat for you — a free chalk brush ✍🏽. Let's dive in!
Step 1: Drawing the Composition (Download your FREE brushes ✨)
Filigrees are all about intricate details and balance. Start by deciding on the overall composition of your design. You can use Procreate's symmetry tool to help maintain harmony in your design.
- Begin with a rough sketch on paper, where you outline your lettering and overall composition.
- In Procreate, set up your canvas, activate the drawing assist, and create your main shape.
- Use your stamp to place the "skeleton" of your filigree where you want it, but be sure to leave enough space around your shapes to add details later.
- Then with the Sharp Chalk brush, trace the shape while trying to maintain the same thickness throughout.
Step 2: Drawing the Outlines
- Now, it's time to give your filigree some shape by drawing the outlines. Start with the largest shapes and gradually add smaller details. Don't hesitate to get creative and experiment with different shapes and patterns. If you're new to filigree, consider following a reference image to get the hang of it.

Step 3: Shading
- Give your filigree depth and dimension by adding shading. Using the Sharp Chalp brush as an eraser start adding some shadows. Begin with the darkest areas and work your way to the lighter ones. If you've erased too much, you can always go back to your pencil brush.

- Change the opacity of your layer to 80% and create a new layer on top set to Add. With your Sharp Chalk brush start drawing some highlights where you haven't placed any shadows.

Additional Tips
📚 Use Reference Photos: Studying reference photos of filigree designs online or in books can provide valuable insights and inspiration.
✍🏽 Start Simple: Beginners should start with simpler designs and practice recreating existing filigrees before tackling more complex patterns.
⏳ Be Patient: Filigree art takes time and practice to master. Don't be discouraged by initial imperfections; keep practicing, and you'll improve over time.
Drawing chalk filigrees in Procreate is an art form that rewards patience and practice. As you explore this captivating world of intricate designs, remember that every artist starts somewhere. Don't forget to share your beautiful creations with me (@aureliemaron).
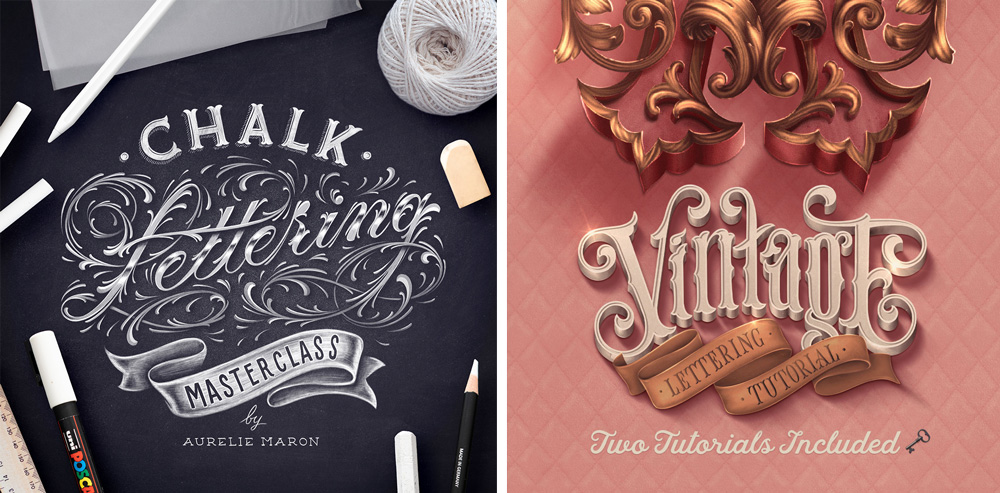
If you want to take your filigree art to the next level and get in-depth guidance on more advanced techniques, check out these courses: Chalk Lettering Masterclass & Vintage Lettering Tutorial.
For the full video, watch my YouTube tutorial "Master the Art of Filigrees in Procreate | Easy Tutorial + Free Chalk Brush ✍🏽" and subscribe to my channel for more lettering-related content.
Keep experimenting, keep creating, and keep pushing your creative boundaries. Your unique filigree designs are waiting to be brought to life in Procreate.
Happy creating!

Check out my online courses 👩🏽💻


