
How to Create a Grid Brush in Procreate
Jun 21, 2021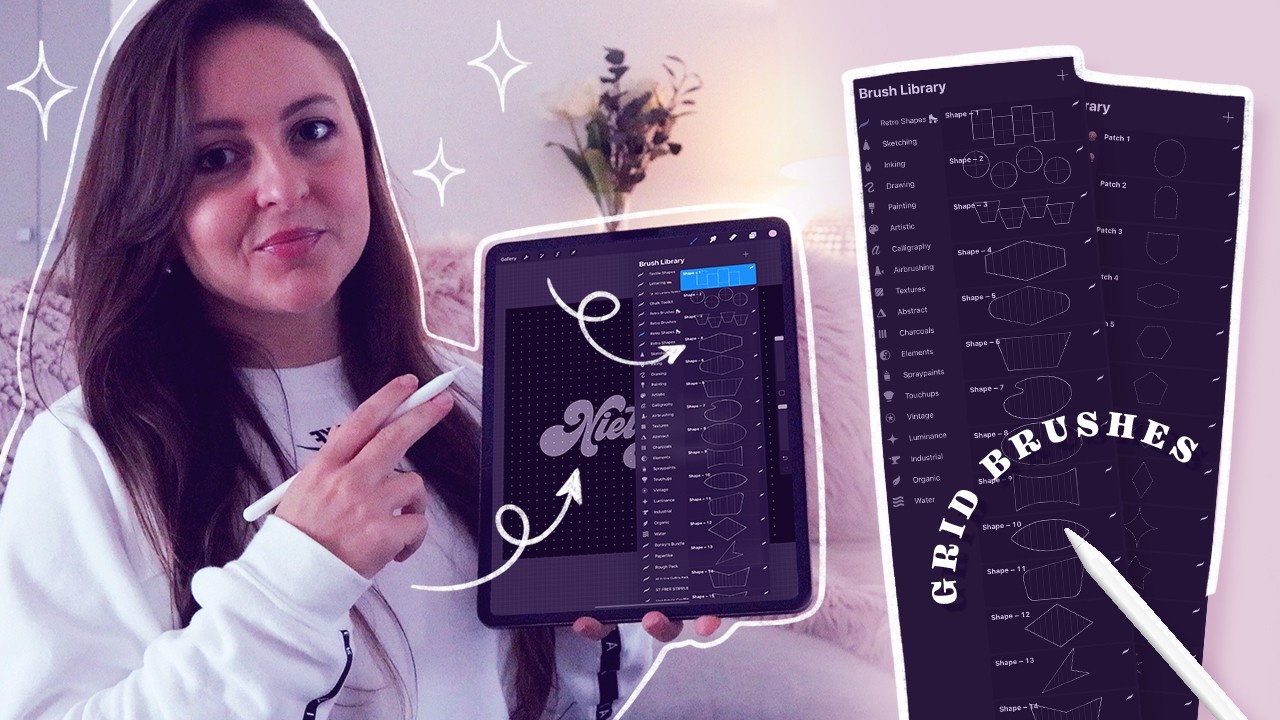

Creating a typographic grid brush for Procreate literally takes less than 30 secs!! 💫 So, if you enjoy drawing letters on your iPad, this is definitely a skill you should learn! If you prefer to follow a video tutorial, check out my YouTube video, where I show you a step-by-step on how I create my favourite grid brushes, and how I use these brushes in a lettering composition.
Pattern Brush
1. Create a square canvas (3000 x 3000px)
2. Change the background colour to black.
3. Go to Actions and turn on the Drawing Guide
4. Click Edit Drawing Guide, make sure your guides are white, then change the grid size to 750px (3000px divided by 4).
5. On a new layer, draw a small white circle using the Monoline brush.
6. Make sure to center the circle to the intersection of the grid. Duplicate this circle so that there is a circle on each intersection of your grid (activate the Snapping option of the selection tool to help you position the circles in the right place).
7. Once you’re done, share the artwork as a JPG and save it to your camera roll.
8. Now create a new brush by duplicating the Grid brush from the Textures brush set.
9. Open this brush, click on Grain > Edit > Import > Import a photo and select the JPG you’ve just saved. Click done.
10. Make sure to untick Offset Jitter. Here you can also adjust the scale of your dotted pattern. I’ve set mine to 20%.
11. And voilà! Enjoy.

Stamp Brush
1. Create a square canvas (3000 x 3000px).
2. Change the background colour to black.
3. Go to Actions and turn on the Drawing Guide.
4. On a new layer, draw 4 horizontal lines and as many vertical lines as you want.
5. Once you’re done, your can share the artwork as a JPG and save it to your camera roll.
6. Now create a new brush by clicking the plus sign in the brush library.
7. Open the brush, click on Shape > Edit > Import > Import a photo and select the JPG you’ve just saved. Click done.
8. Change the Stroke Path > Spacing to 100%.
9. In the Properties, increase the maximum and minimum size and change the opacity to 100%.
10. All the other options can be set to 0!
11. And voila! Enjoy.


