
The easiest way to create a font ✨
Feb 17, 2023
I have found the perfect app to create a font on my iPad in no time! 😱
You may have heard of Fontself as an extension for Illustrator or Photoshop but they've now released their own stand-alone app that you can use to create an entire font from scratch using just your iPad. Fontself is free to download and its mantra is all about being the simplest and fastest font creation tool ever made on planet Earth.
The app is extremely intuitive and easy to use. You don't need to know anything about vectors or type design to start having fun with the app and create a working typeface. It's perfect for beginners or even more advanced type designers as it allows you to draw vectors and generate a working font in seconds.
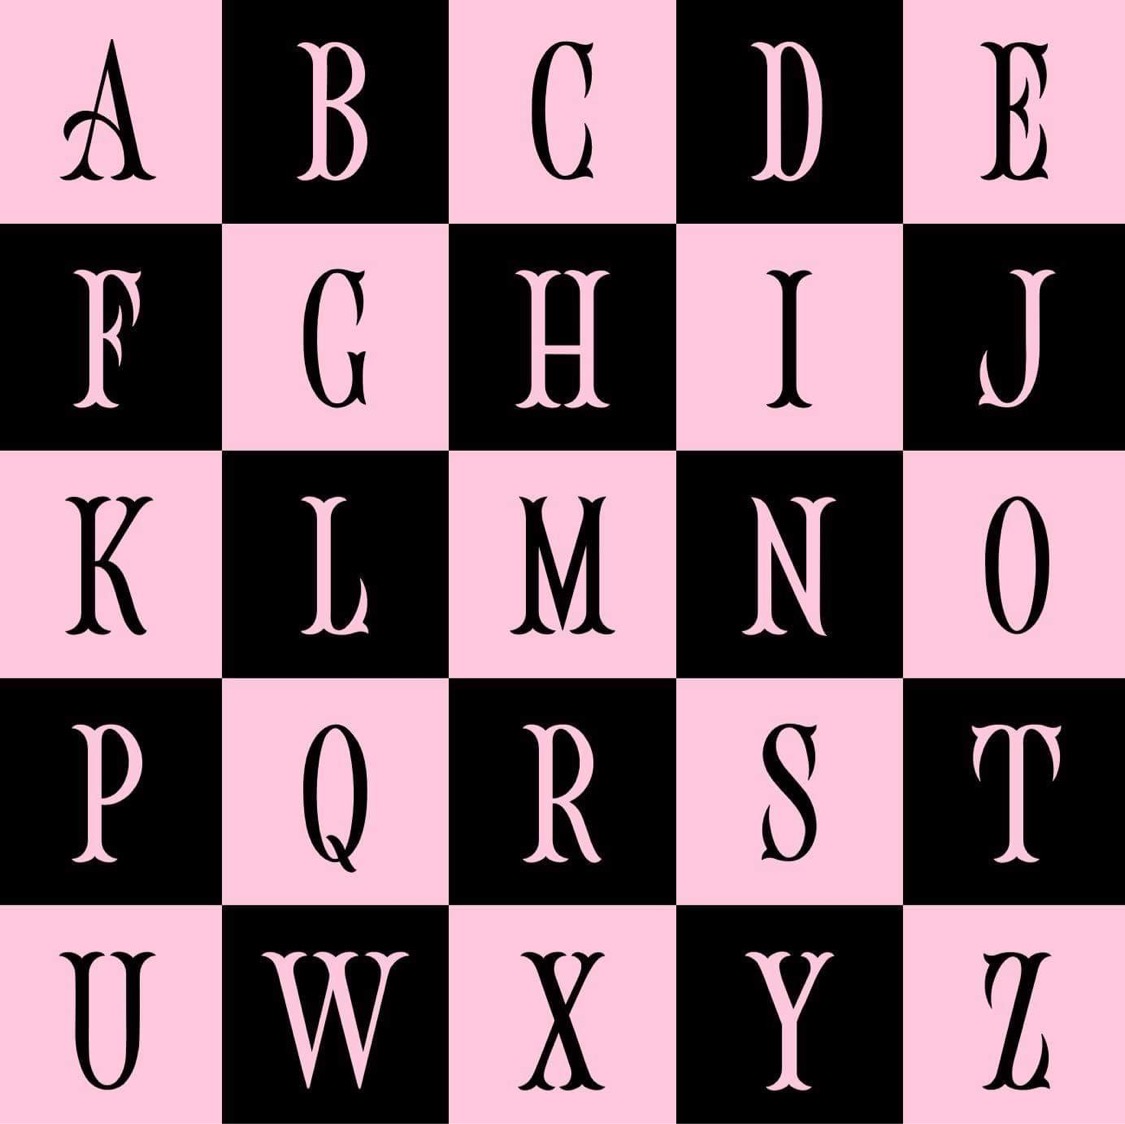
Let me show you how I made this cute font 👇🏽 in under an hour! Let's go!
Step 1 – Download and get to know the Fontself app
For a quick tour and overview of the Fontself app, watch this video.
Download the Fontself app here ✍🏽

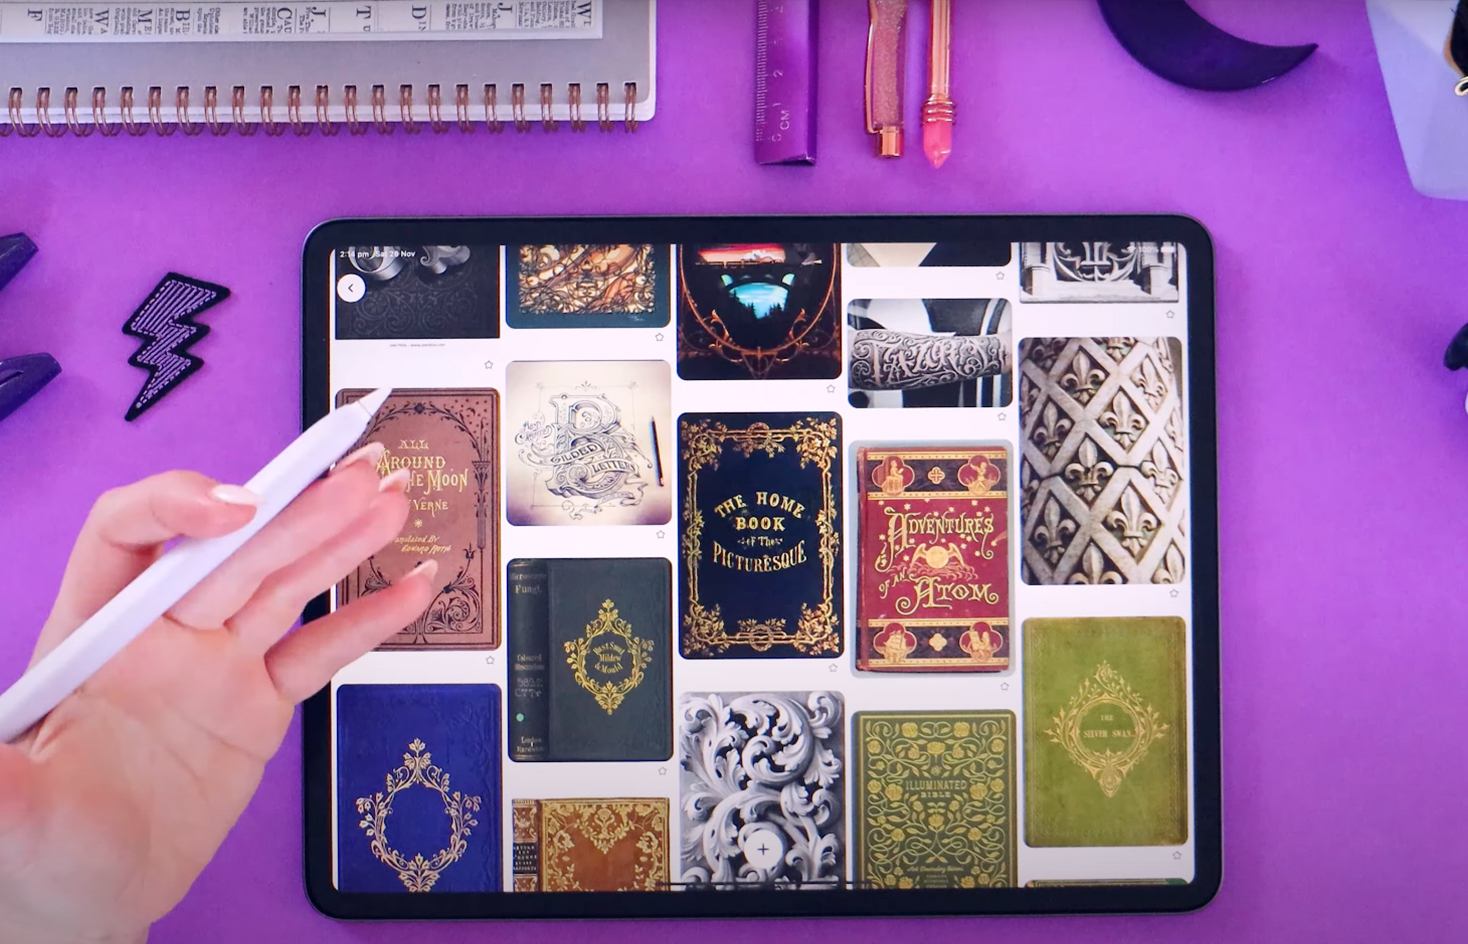
Step 2 – Research a font style and find inspiration on Pinterest
Look up some different styles on Pinterest 📌 to use as a reference when you start drawing your first draft.
One of my favourite features on Pinterest is the recommended pins when you click on an image and scroll to the bottom of the page in the "More like this" section. This allows you to find very specific styles from broad keywords such as "vintage font".
Step 3 – Draw your sketches on paper
To make the sketching process easier, you can draw some guides. I draw these 3 lines:
- Ascender line (height of the uppercase letters)
- Baseline (where all the letterforms sit)
- X-height (height of the lowercase letters)
Group your letterforms into categories so you can copy and reuse some of the shapes for letters that are in the same group. For example, O, G and C are in the same "round" group. A, V and W are in the "triangle" group. H, T, and E are in the "square" group.

Step 4 – Create your letters in Fontself
When I start drawing in the app, I like to add some guides, just like on paper. Click Settings and turn on Cells and Grid.
Here are a few things to keep in mind when drawing your letters:
- I start drawing the easiest letter first (i.e. the letter "I") so I can reuse that recurring shape in other letters.
- Make sure to use the app features to make your drawing effortless. For example, draw and hold to make a perfect line or curve.
- I like to refine and sharpen my shapes with the eraser tool.
- Copy and paste as much as possible to have cohesive letterforms. Simply use the Selection tool, select your entire shape, and click the Copy and Paste icons at the bottom of the selection.
Finish all your letterforms and watch your alphabet fill in automatically!

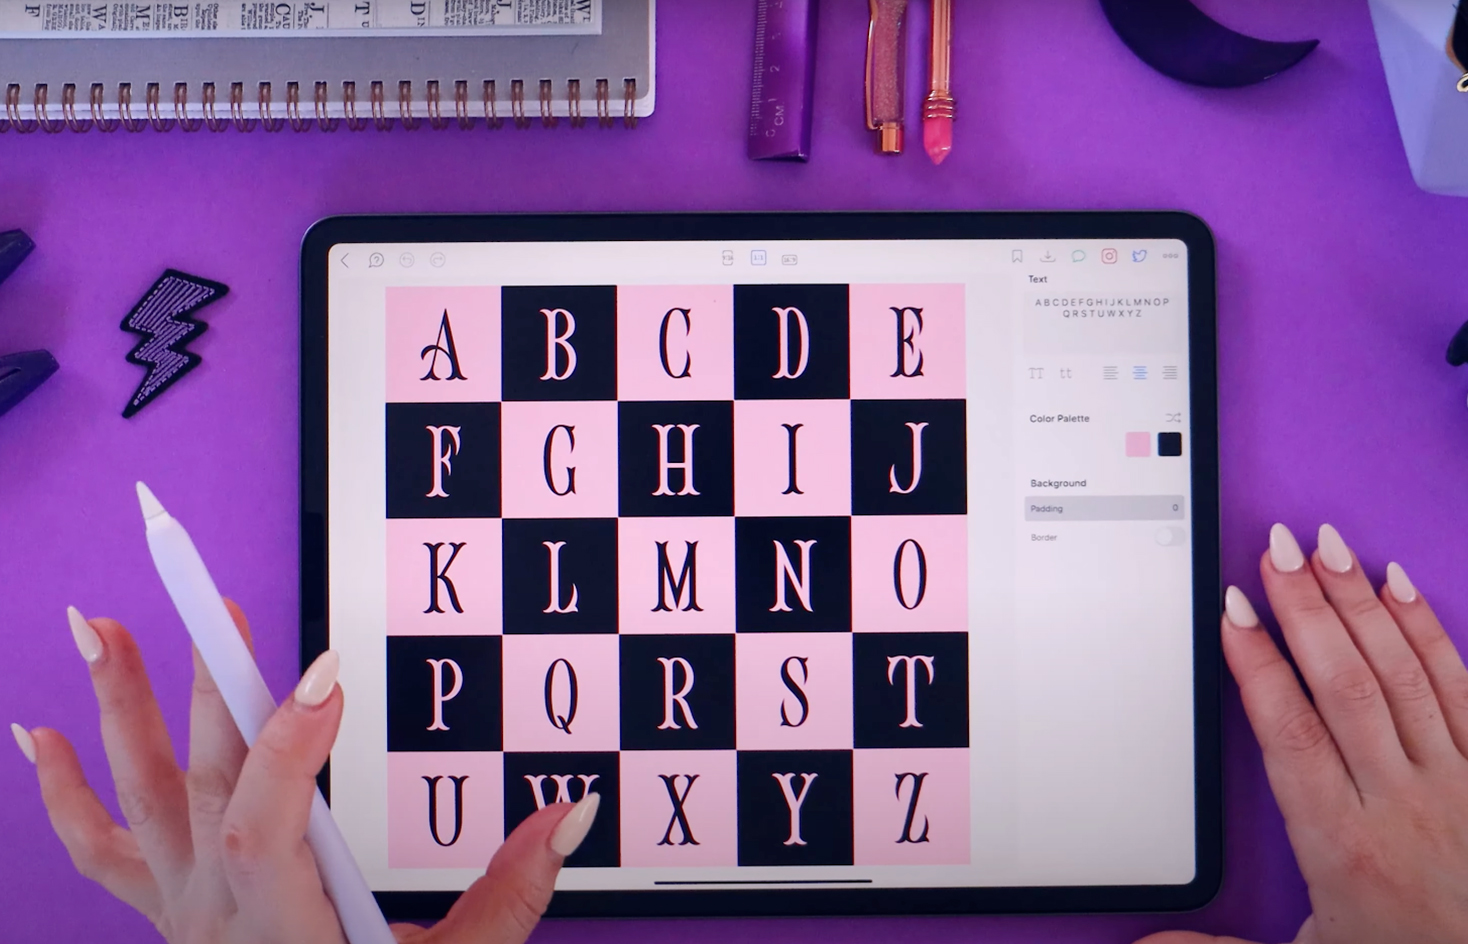
Step 5 – Type and showcase your font
Quickly test your font with the Type & Showcase feature. Here you can see what your font looks like in context. Play around with different word combinations, colours, backgrounds, templates etc.
Step 6 – Export your font and start using it
Give your font a name (you can have fun with this part!), I called mine Coccinelle 🐞. To do this, go to the Home page, tap and hold on your new font and click Rename.
Export your font by clicking Export Font File (top right corner), save it to your files and it will be saved as a .otf file.
If you want to add it to Procreate, click Actions > Add > Add Text > Import Font > select your typeface and it will appear in your Procreate font library.

That's it, guys! Thank you so much for following along and I hope that this makes you want to give the app a go and try to design your own font in Fontself.
If you have any questions just let me know and if you want to, feel free to tag me so I can have a look at your work (@aureliemaron). Have fun making fonts!

This font is available in my Vintage Lettering Toolkit for Procreate ✨


