Chalk Mural Art Process in 6 Easy Step
Jan 24, 2020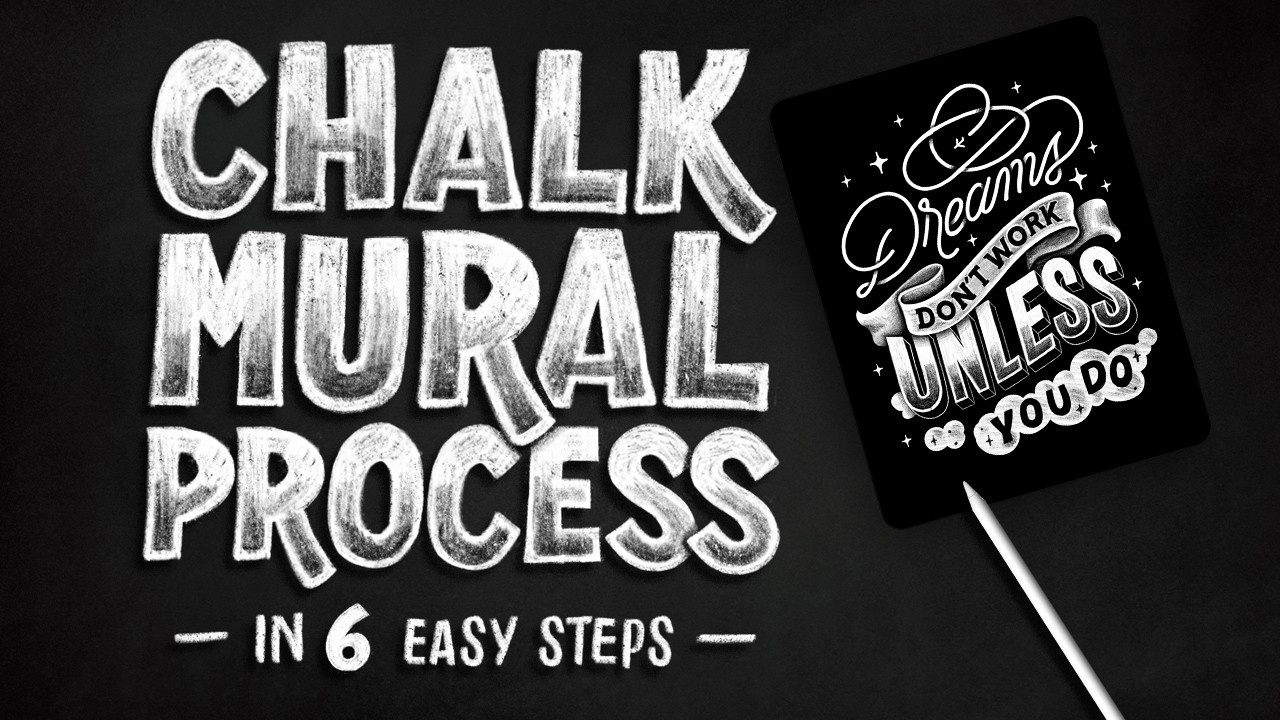
Since studying Typography at university in 2010, I have been doing A LOT of chalk lettering art. Over the years I have experimented with quite a few different techniques ranging from digital chalk lettering on my tablet to floor-to-ceiling chalkboard walls.
I have been asked many times about how I take my chalk artwork to a large scale wall. I do it free-hand and don’t use a projector. This process of chalkboard art and lettering is not hard, but does take some planning.
So here is a simple step-by-step tutorial that shows you how to draw your chalkboard artwork on a wall when you don’t have access to a projector. It’s cheap and easy. Enjoy!
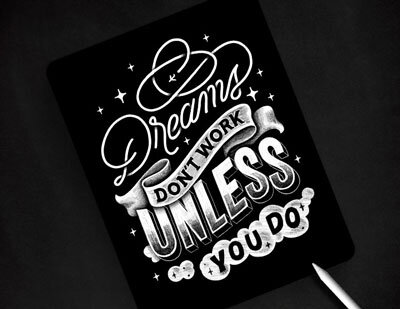
Step 1. Draw your detailed sketch artwork
You can use a tablet (I use Procreate) or use a white pencil on black paper. If you don’t have any of those, you can use a pencil on white paper and then reverse your artwork in Photoshop.
Tip: Make sure your artwork is as detailed as possible to avoid any guesswork when drawing on the wall.
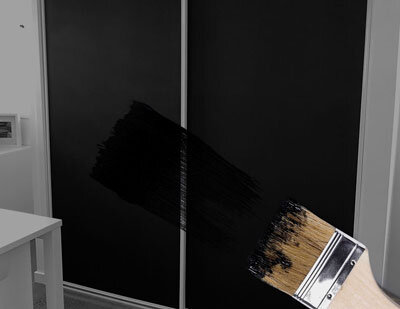
Step 2. Prepare your wall
You can use acrylic paint or any black paint of your choice to paint your wall. I use water-based enamel paint, but most black paint will work as long as they have a matte finish.
Tip: Make sure you keep some extra paint in case you need to go back and fix tiny mistakes.
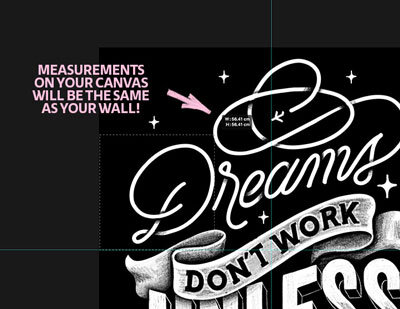
Step 3. Create your Photoshop guide
This is the important step if you are not using a projector. Measure your wall and create a canvas in Photoshop that is exactly the same size as your wall to place your artwork. Using the Rectangular Marquee tool (M), you can now measure where all important points are positioned. (See step 4).
Tip: Don’t forget to save your Photoshop file!
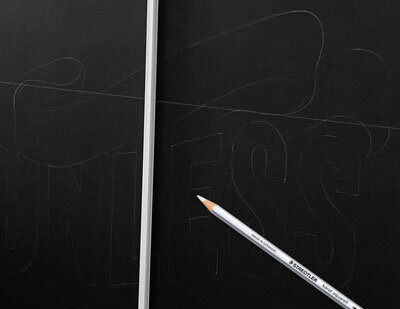
Step 4. Draw the guides on the wall
I usually divide my wall into two (vertically and horizontally) using a Staedtler Karat Aquarell pencil. Now all I have to do is measure the most important points (like where the letters start) following my Photoshop document and draw these points.
Tip: You will need a big ruler or a tape measure for this step.
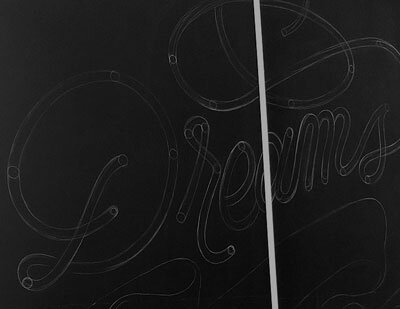
Step 5. Start drawing the outline
Once you have enough points of reference, you can start drawing the outlines. Make sure you don’t use too much pressure. It is easier to fix a small mistake with fine pencil outlines.
Tip: Your final artwork should be something you are comfortable drawing freehand. Avoid symmetry or straight lines to make it easier.
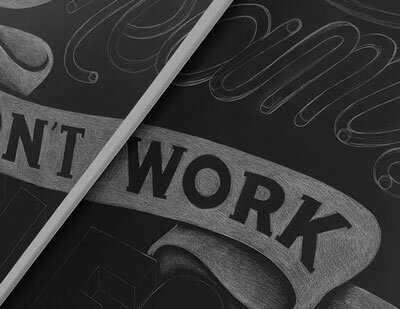
Step 6. Add the shading and highlights
This is the fun part as all the hard work is done now. With a white pencil fill out the letters first, then gradually add the highlights to add some depth (I use white pastel chalk).
Tip: Use an eraser to make the shadows even more black. The contrast between black and white will make your piece stand out.
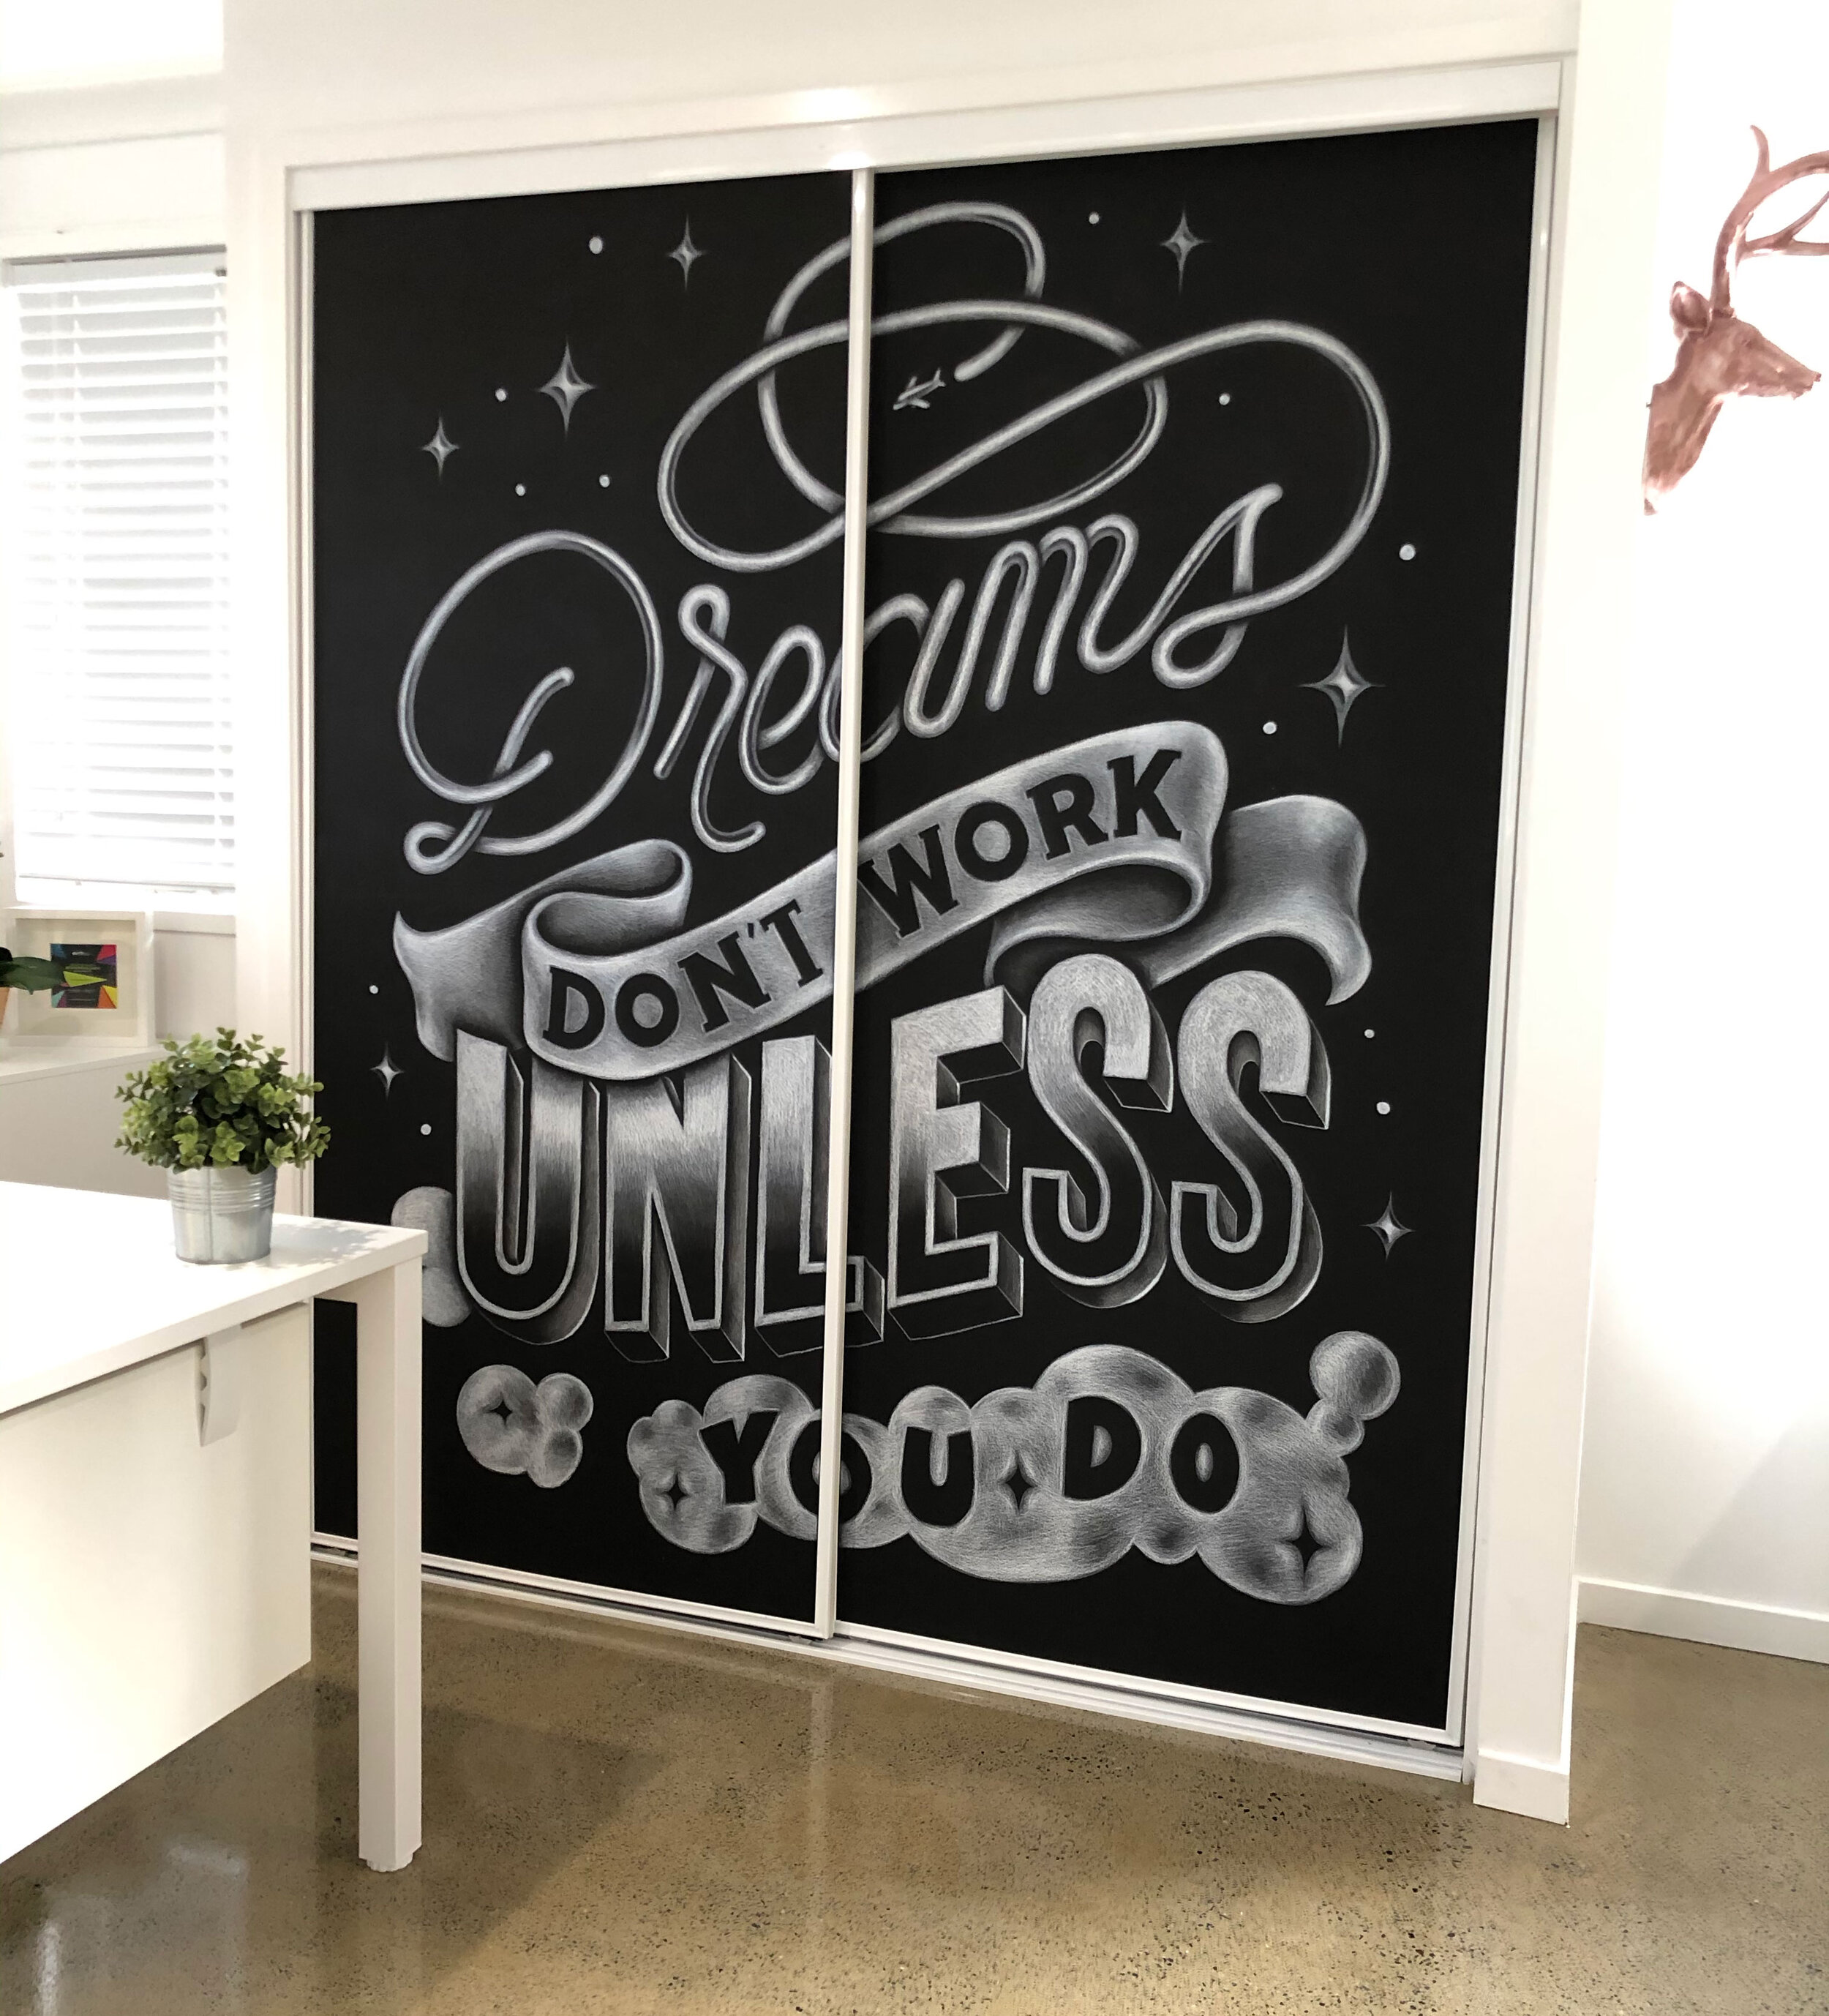
If you’ve never done a chalk mural before and are not feeling confident, just give it a go and learn from your mistakes. Worst case scenario, you just paint the wall back to black! This is the best way to learn. Each chalk mural you create, you will get better.
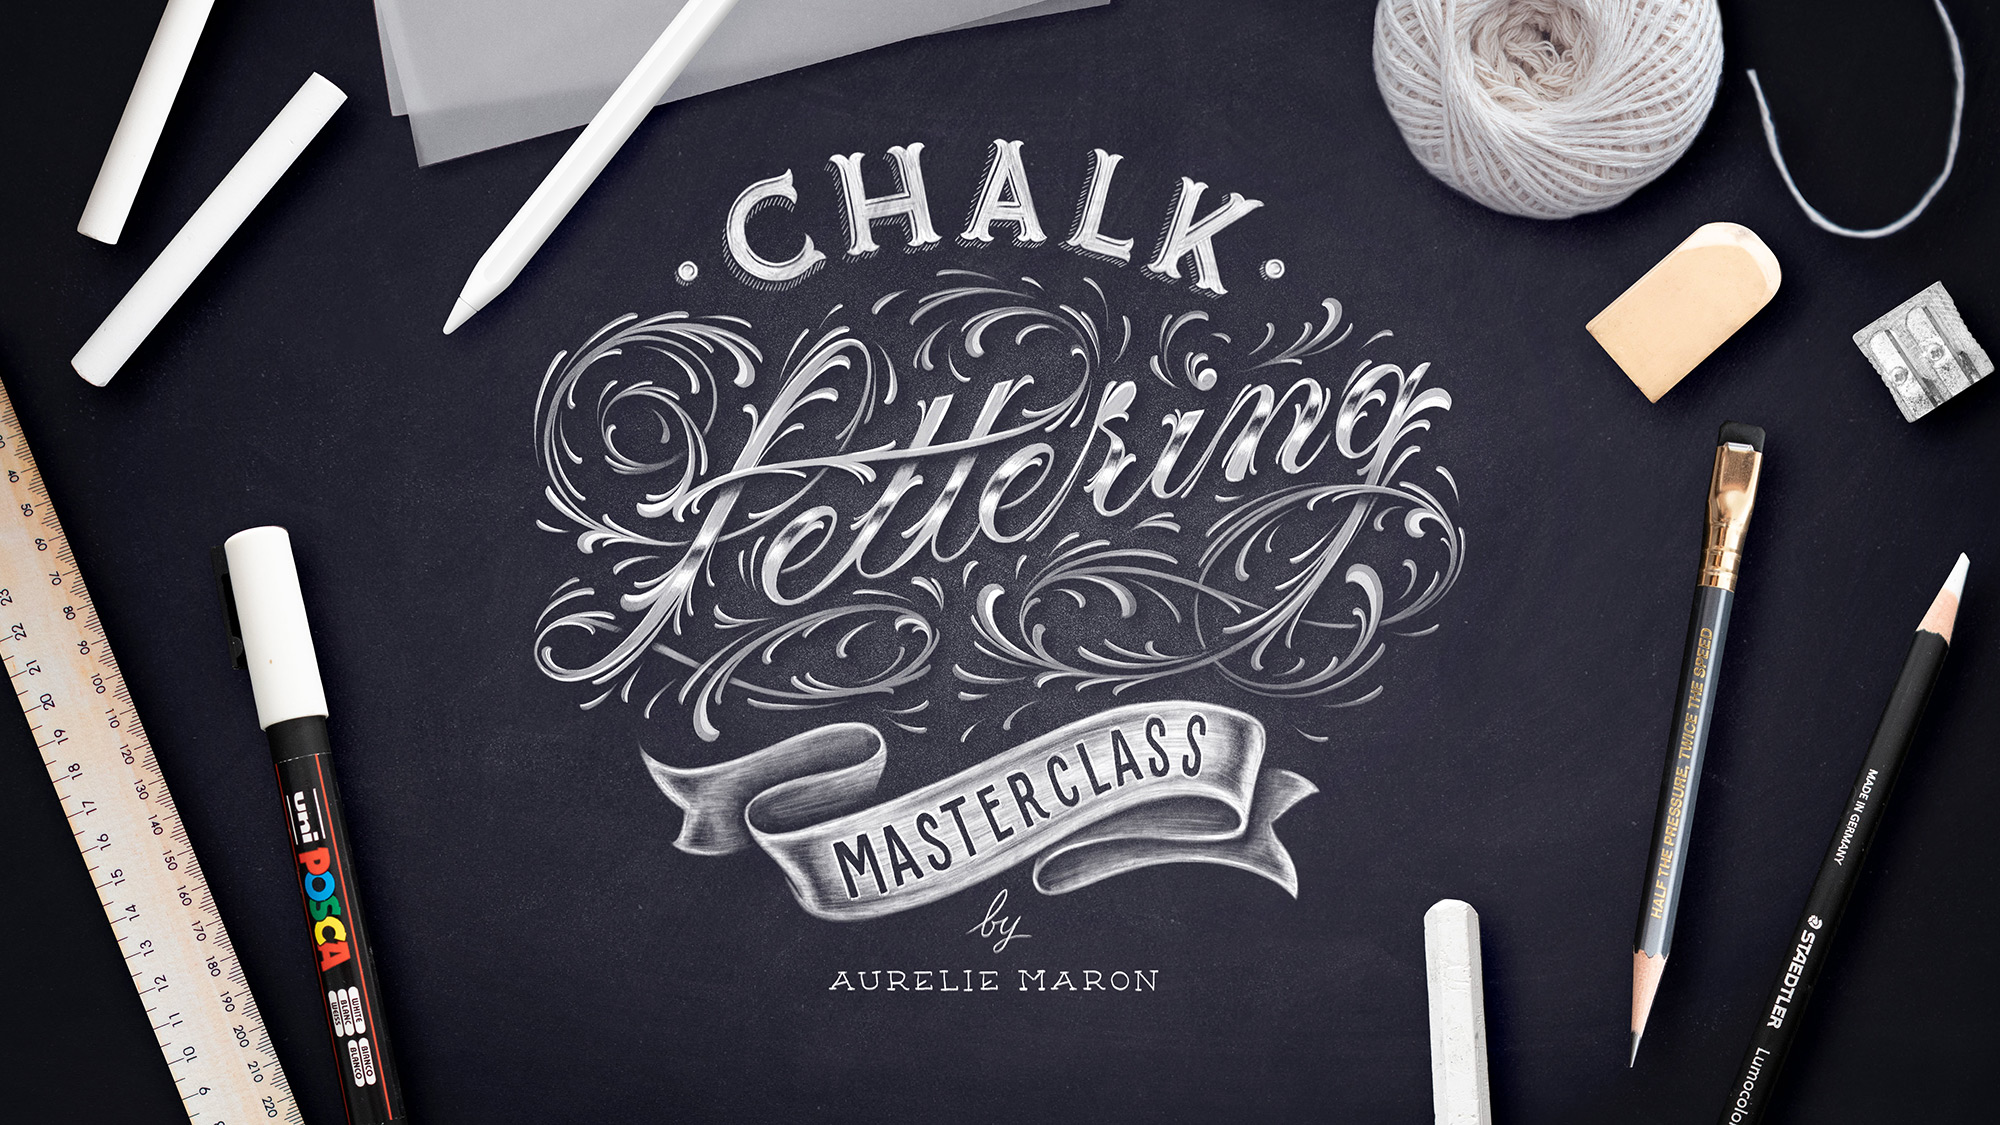
Learn how to create Chalk Lettering with me!
Chalk Lettering Masterclass teaches you the theory you need to improve your lettering skills. Learn how to draw letters, put words into clever compositions and add all types of flourishes and embellishments to your designs.
Enroll now