How to Animate Lettering in Procreate
May 13, 2021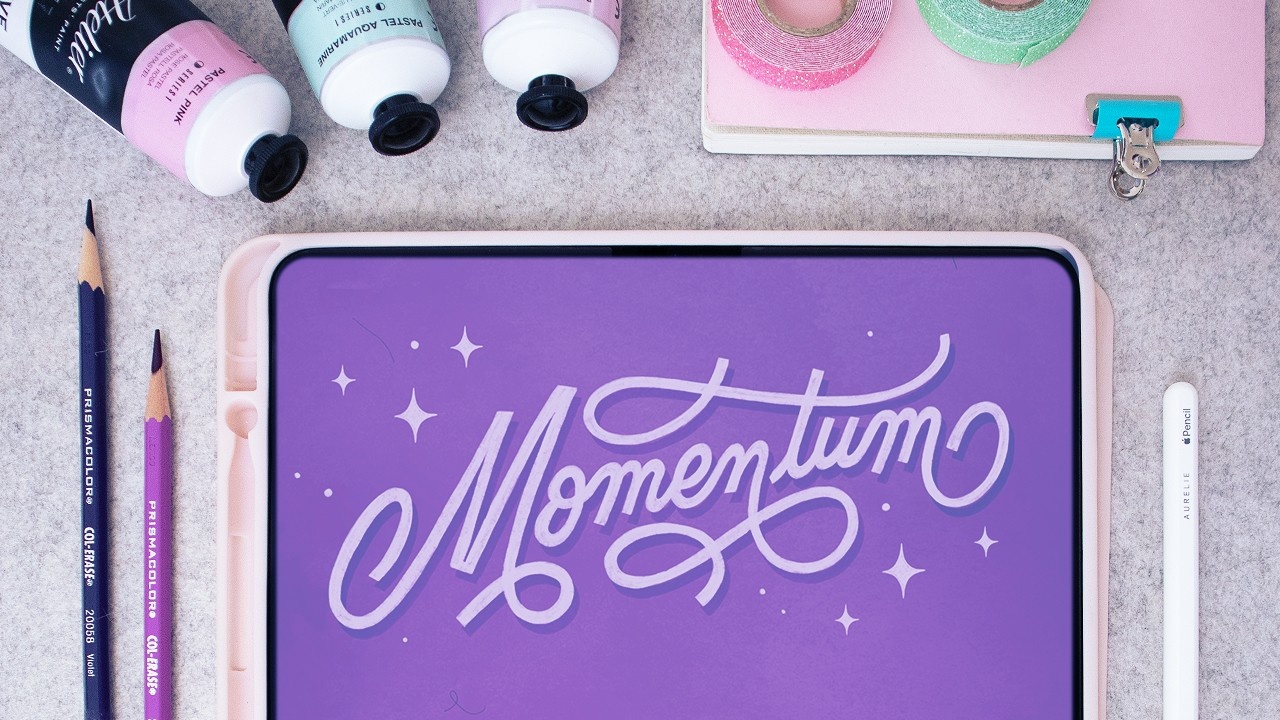
Let’s animate text in Procreate together! I’m going to show you how to quickly create a handwriting style effect animation in 3 simple steps!
We are going to create lettering that writes itself up and it's a lot easier than you think. All we have to do is duplicate one layer and use a mask.
You can use this technique to add realism to your lettering artwork, to create GIFS for Instagram, or to make a professional email signature.
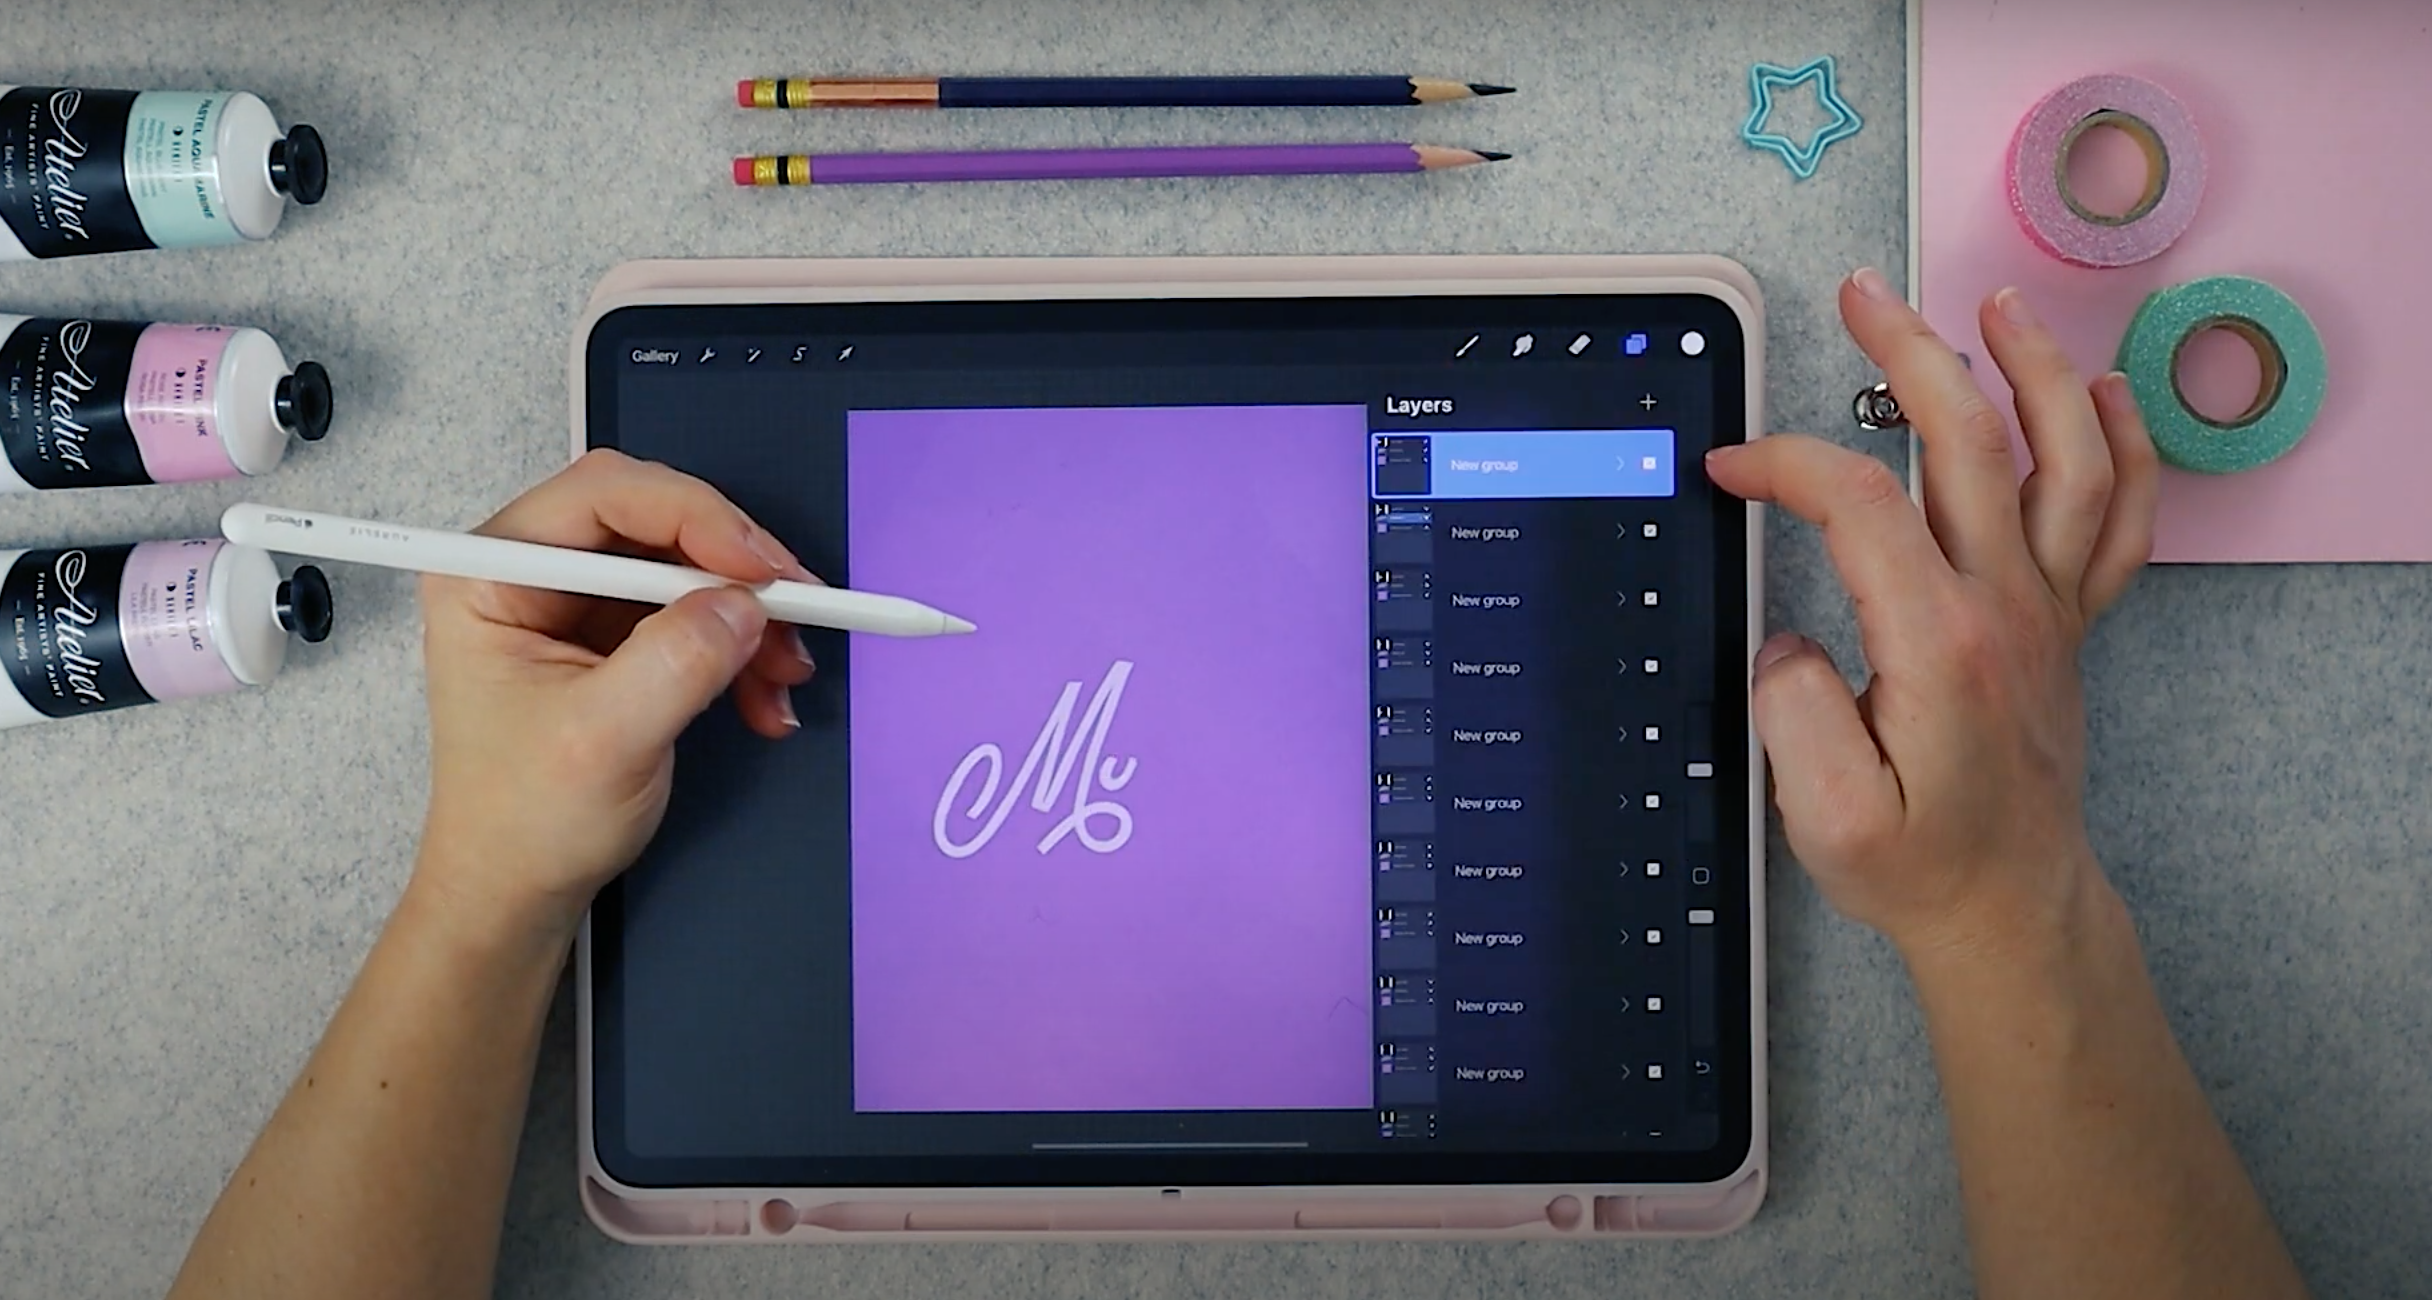
Step 1: Draw your text on a 2048x2048px canvas (300dpi)
-
Make sure you're happy with your artwork because you won't be able to edit it after animating it. You also want to use script lettering, for the ultimate handwriting effect.
-
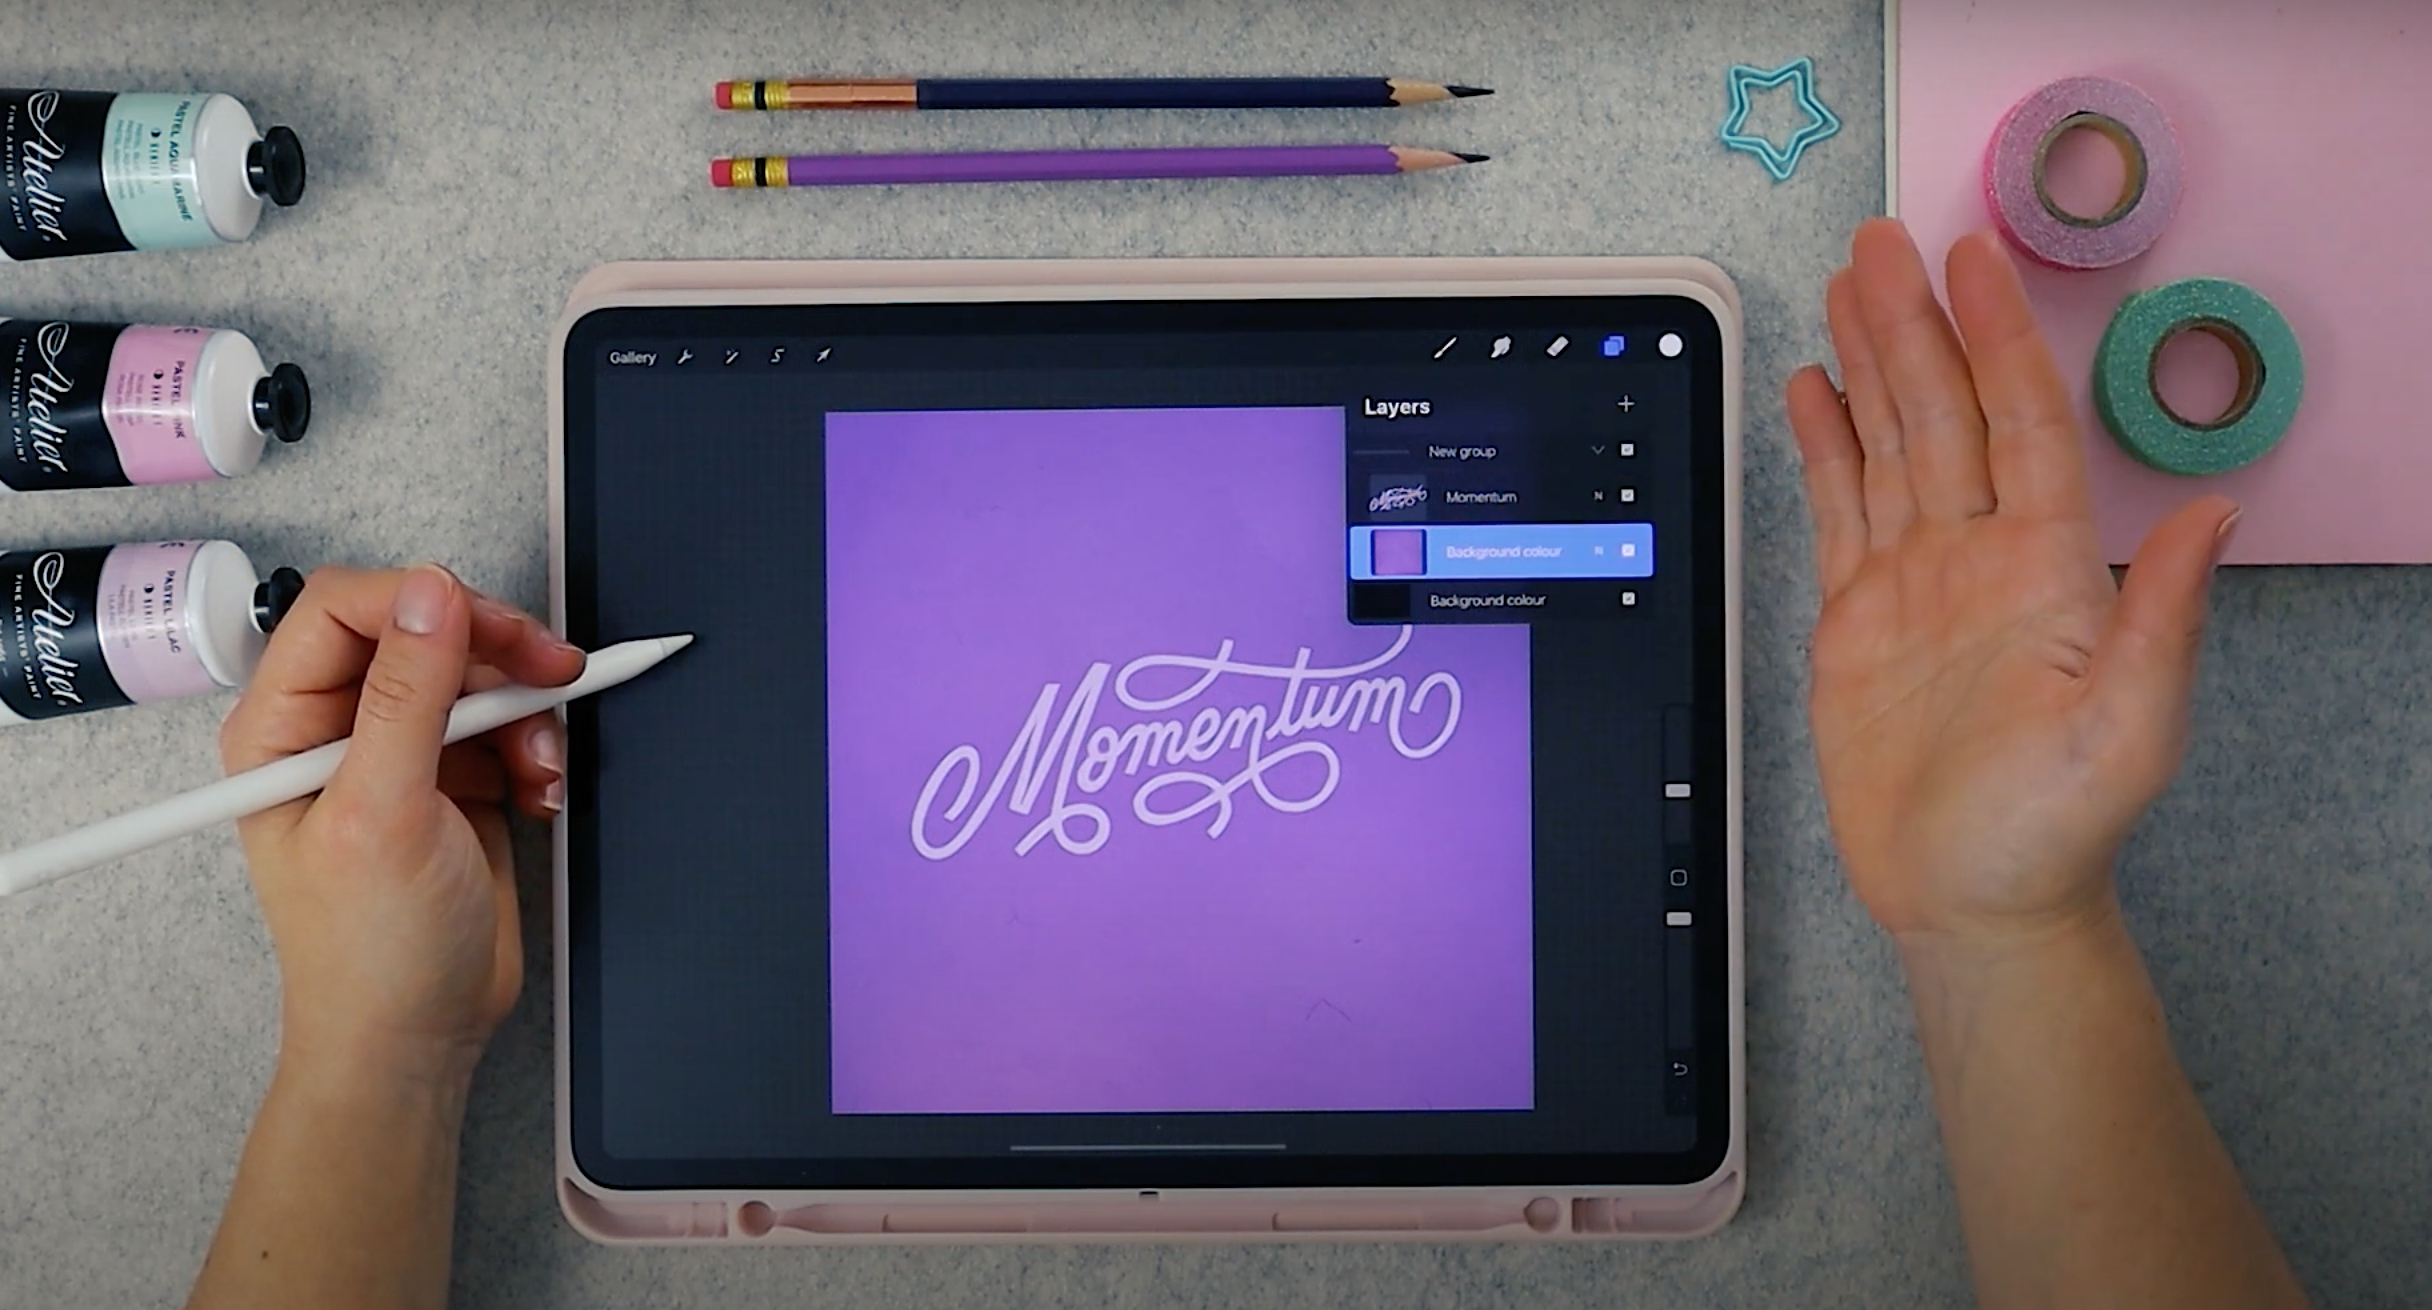
Place your lettering on a separate layer from your background and rename both layers.
Step 2: Duplicate your layers with masks
-
To give the illusion that the text is writing itself up, we are going to hide some part of the text and gradually reveal it. To hide our layer we are going to be using a mask (click on your layer then Mask).
-
But first, you need to know that 1 layer = 1 frame (every layer you have in your document is one frame in your animation). This is the same for groups, 1 group = 1 frame (you want to group your text with your background).
-
When the mask layer is white, it means that it is not hiding anything, so I add black (with a brush) to the parts I’ll be hiding.
-
The first layer will have to be entirely hidden, so the mask is fully black.
-
Duplicate that first layer and unhide the text with white (small sections at a time).
-
You should end up with a few layers.
Step 3: Turn on the Animation Assist
-
You can adjust the speed and looping of your animation (I set mine to 12 frames per second on Loop).
-
I like to turn on Onion skin to Max with 50% opacity. Those settings will control the overall animation.
-
You can also decide to change the settings for individual frames. This is what I'm going to do for the last frame which I want to last for a little longer.
Export as a gif and voila!
Enjoyed this tutorial? Check out my Online Masterclass to learn how to draw and animate Retro Signs on Procreate!